Making Embellishments
Making Embellishments for your self can save you money and you can make them to match all your designs
The title of this page is
Making Embellishments
and there are lots of ways
for you to do this
This is a small selection
of the things that you may
already have in your crafting
"Stash"
They can all be altered
to suit your color scheme
and your individual
creations
Some other ideas for you to try are ...
To name just a few and you will find many more in the
and all the pages on the website are listed in the
Sitemap
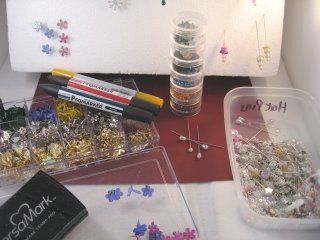
Here a some of the things that you can alter to make them fit and I have used marker pens to alter the color of some of them.
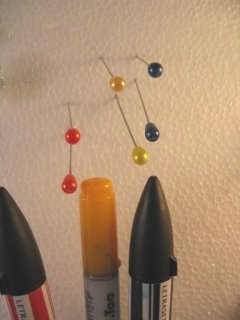
These are just plain, white pearl Hat Pins that have been coloured, to match the scheme of the card, with Copics or your Promarkers.
I have an old polystyrene block, that was part of some packing and I have pushed the pins into this hanging downwards to let them dry for a few hours
I can leave them there to store until I am ready to use them.
And I always have some in different colours ready for me to use.
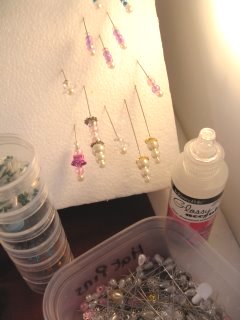
Some of the same kind of Hat Pins have been decorated with Beads.
Make sure the stem of the pin will go through the hole in the bead.
Take the plain, pearly pin, and a mixture of colours and sizes of beads, and with some strong glue add them one by one to the pin.
I have used Glossy Accents to hold my beads in place.
Then pushed them, so they are hanging downwards, into the polystyrene block, and leave them to set solid.
(Probably overnight) These are also stored on the polystyrene block ready or use
There is a video tutorial to give you a more in depth way of making these Decorative Hatpins
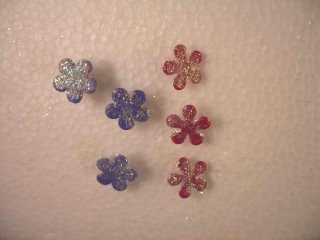
I bought some cheap Brads in lots of colours, shapes and sizes, but after a while they get a bit boring.
A simple way to jazz them up is with some Glitter
 |
 |
Simply coat the surface of the brad with some Glossy Accents. Then sprinkle with fine glitter of your choice.
Push them into something and allow them to dry but make sure they are level or the Glossy Accents will run off.
Leave them overnight to cure properly.
The Glitter will smudge off if you use them too quickly.
You could also push the heads into some Versamark and then cover them with embossing powder and heat with a heat gun. But take care as they are metal and they will get hot.
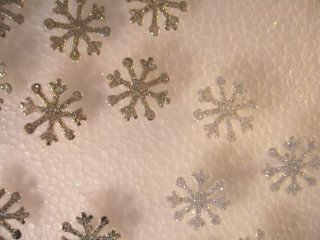
These snowflakes will look lovely on a Christmas Card this year
Embellishments
More Projects
Novelty Cards
Return from Making Embellishments to Homepage


Recent Articles
-
Memory Book
Oct 15, 22 09:17 AM
 Make a memory book, fun to make and even lovelier to give.
 -
Die cut letters.
Jul 19, 21 10:12 AM
 Add that personal touch with die cut letters, add names or sentiment as you please.
 -
Diaper Fold Card.
Jul 19, 21 09:34 AM
Create this fun Diaper Fold Card...and no need for a pin!
Search
