Memory Book...
... Fun to make, and even lovelier to give.
This project is lovely to do and what could be nicer than to give someone their very own Memory Book.
It is just that little bit more than a card, a real gift in it's own right and an extra special way for them to store reminders of something that was dear to them.

An 18th or a 21st. Or one of the major milestones in a persons life. 50th, 60th, 70th, all very good reasons to make this little gift.
Whatever the reasons people always like to keep something to treasure of the time that means something to them, so are you ready to have a go at making it? OK here goes.....

Step 1
For this project you will need to make some envelopes and you will find the instructions to make them here....
Select the papers you wish to use.
You will need two C6 envelopes and two mini ones. For these mini ones I used paper that was 12x12cms.Measure in 4cms on two opposite corners, and 5cms on the remaining two opposite corners.
Remove the triangle where the lines cross and fold as you would for the bigger size. Glue the edges of the envelope in place, taking care not to apply too much as you don't want the opening to be sealed.
My memory book is for a 25th Wedding Anniversary so I chose silver for my theme.
The card was just the basic A4 size but it needs to be 17cms deep.

So you will be pleating first one way and then the other, and bending the card both ways makes it far more pliable


The ribbon can now be tied in a bow, and the envelopes can be used to store small items in.
If you wish to decorate the inside more, then now is the time to do it.
Step 6
Inside done? Happy with it? Good ...now for the outside.
I ran a spare piece of silver card through my die cutting machine in an embossing folder, to give the swirly effect, and attached it with foam pads to raise it up.
I applied peel offs to the top and bottom of the memory book, and on each outer edge I put two eyelets and threaded them with white ribbon.

Then comes the bit I love.....adding the "Bling"
I used white roses and fern leaves, interlaced with rose buds, and the dragonfly is a peel off on acetate. I added these with hot glue so that they will not fall off once the book is given to my recipient.

Memory Book for Baby
This is another version of the memory book for a new baby.
It was made in exactly the same way but kept to pastel colours.
This project would be just as suitable for a new home, a wedding, birthday christening or a special anniversary.
In fact anything that you want to make it for.


This memory book is especially for a little boy, and I know boys don't have flowers, but I couldn't resist them!!

And don't forget the inside of your book, make it just as pretty as the outside, and the complete the look with a handmade box to put it in.
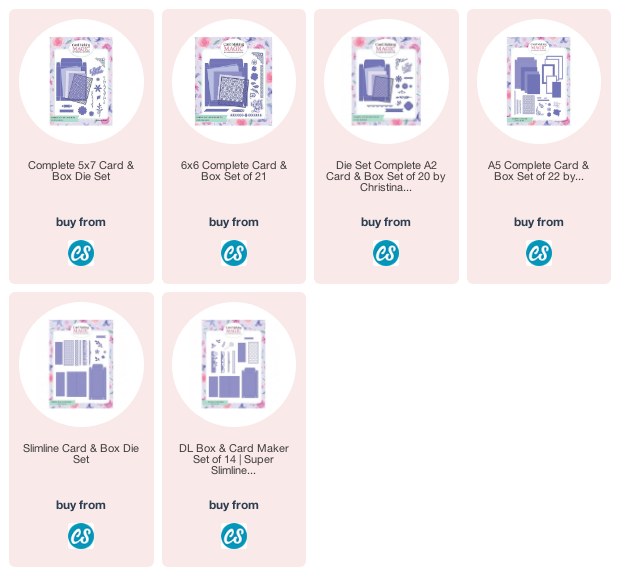
I have lots of box making tutorials and many more that use my own brand of dies to make it such a simple task, from 5x7 to A5 size. You will find the links to the Card Making Magic Box dies below and there are many more to be found at
Return from Memory book to Homepage


Recent Articles
-
Memory Book
Oct 15, 22 09:17 AM
 Make a memory book, fun to make and even lovelier to give.
 -
Die cut letters.
Jul 19, 21 10:12 AM
 Add that personal touch with die cut letters, add names or sentiment as you please.
 -
Diaper Fold Card.
Jul 19, 21 09:34 AM
Create this fun Diaper Fold Card...and no need for a pin!
Search
