Recyle... with this
Tissue Paper Technique.
This Tissue Paper Technique will show you how to recycle the left over stuff we all collect and it can make some really pretty effects in a very cost effective way
What do you do with the paper that comes around a new pair of shoes, or anything else you may buy?
It can come with some new clothes you may have just bought and it comes in many different colours too?
It is there to protect the garment that you have just bought.
But do you throw it a way? Or do you put it to some good use in any of your cardmaking?
If you are frugal you will put it to good use, and this Tissue Paper Technique is just one way to use it up.
It doesn't matter what colour, or size it is, it can all be used up.
And it doesn't matter if it is all creased ... because you are just going to crease it even more!

Step 1
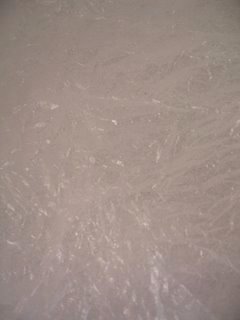
My piece was wrapped around some shoes and this is just white creased tissue paper.
Crumple it up some more and then open it out, being careful not to tear the paper.
I sprayed my piece with some glitter spray to add the sheen...
Step 2
...and I then tore it into squares to fit the front of my card base.
The size of the squares does not matter but the smaller they are the more you will need.
With a clear wet glue add these pieces randomly to the front of the card.
Make sure all the edges are well stuck down and not curling up from the card base ...
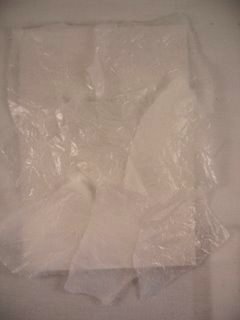
...and then trim around the edges to give a neat and tidy finish.
Trimming from the back gives a better result.
Or you could simply glue them round to the back of the panel for a neat finish.
Step 3
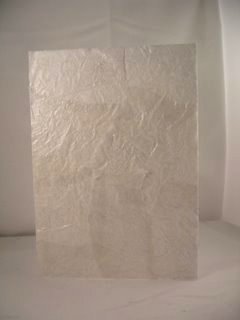
With any stamp of your choice decorate the edges of the paper, and overlapping them as you go along.
Bring some of the stamped images off the edge of the card as you go round this layer
I used a "Flourish" Stamp and some distress inks.
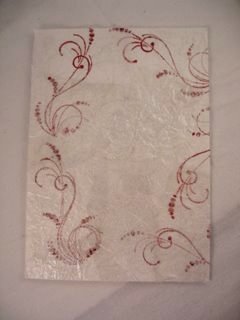
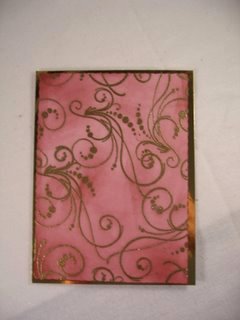
Step 4
This panel was the focal point of the card was made using the Resist Stamping Technique.
I used a gold embossing powder and carefully heat set it to melt the powder
It was then Matted and Layered onto some Gold Mirror Card.
Add this panel to the tissue base layer with some foam pads, to raise it up and add depth to your creation.
And the decoupaged bouquet in the jug, was a lucky buy from a car boot sale.
I have added glitter to parts of the floral image and I used foam pads again to give it height.
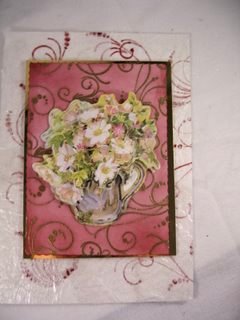
Then with some Ribbon wrapped around the spine of the card, and a few strategically placed Gemstones the job is done...
The Tissue Paper Technique is an excellent way to use up what you might otherwise have just thrown into the trash can.
Why not give this Tissue Paper Technique a try with any that you have in your own drawers and I am sure that you will be pleasantly surprised at the result.
Return from Tissue Paper Technique to Homepage.


Recent Articles
-
Memory Book
Oct 15, 22 09:17 AM
 Make a memory book, fun to make and even lovelier to give.
 -
Die cut letters.
Jul 19, 21 10:12 AM
 Add that personal touch with die cut letters, add names or sentiment as you please.
 -
Diaper Fold Card.
Jul 19, 21 09:34 AM
Create this fun Diaper Fold Card...and no need for a pin!
Search
