Secret Panel Card ...
To hide a message in!
This Secret Panel Card is easy to make and yet so effective.
Search

Making this secret panel card couldn't be easier and you can add any decoration to it that you wish.
It is a really good project that can be used as a mini album and instead of stamped images you could add photographs of an occasion that is dear to you.
Altogether there are 22 small panels for you to decorate so lots of places to add those photos if you wanted.
If you wanted to watch the card being made then here it is.... Secret Panel Card Tutorial
Step 1
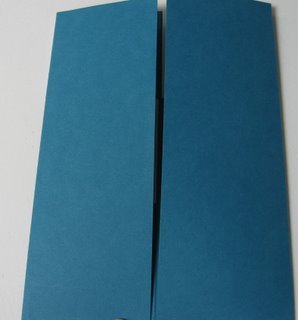
You will need one and a half pieces of A4 card.
Make it in two different colours that blend with each other.
(A4 card is 21 x 29.5 cms or 8 1/2 x 11 3/4 inches)
Lay it flat with the long edges at the top and bottom.
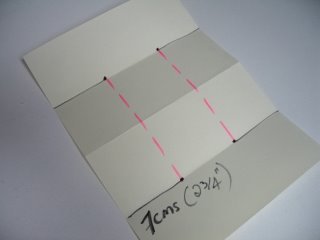
Fold the card in half and then each of those halves in half again.
Crease the centre towards you (Mountain fold) and fold the two sides away from you Valley folds).
Then from the long edges measure in towards the centre 7cms (2 2/3 ins) Make a small mark on each point.
The pink dashed line indicates where you will need to cut the card to make a slot.
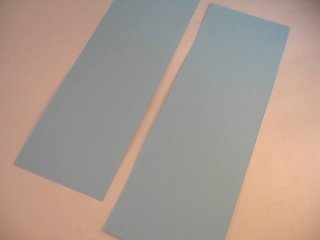
Step 2
Cut the half piece of card in half to cut two long strips 7cms wide (2 3/4 ins) Trim as needed to fit into the slot.
Then you are going to weave these through the slot so that they are side by side.
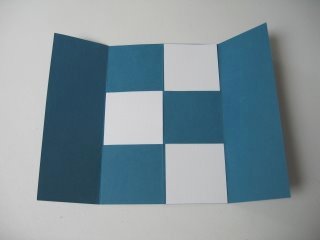
Take one piece and go under the centre slot, and with the other one you will go under the top two parts of the slot, so that it lies over the centre panel.
And this is what it will look like when you are done.
When you fold in the two outer panels inwards you can see that you have Gatefold Card.

Step 3
Make sure that all the creases are sharp.
Push the card together into the folds you have made. (Mountain and Valley)
And when you open the card again it will look like the photo.
Push it together again and then take hold of the Mountain fold and gently pull the card apart
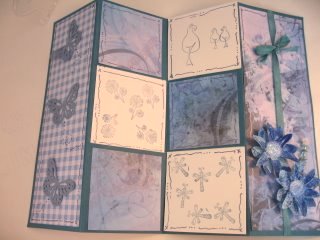
... and it will reveal another part that of the Secret Panel Card.
All these are ready to be decorated.
If you decorate it with the card assembled then you will know where to place your images or stamps so that they line up correctly within the card.

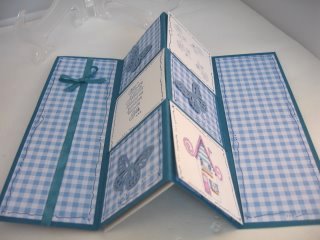
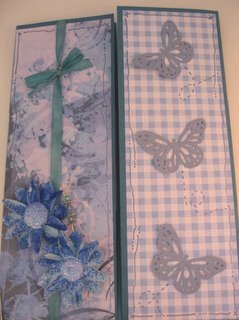
The top photo shows you the front of the card and this one shows the first inside part.
Decorate the second part of the inside and don't forget the back of the card too.
When it comes to sending the card you have two choices ... you can either fold the two outer flaps in and send it as a Gatefold card which will fit into a standard sized envelope or ...
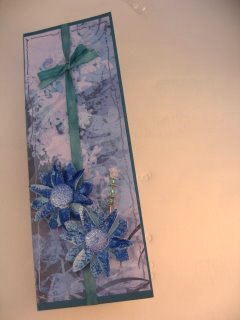
... you can fold it completely into quarters and then it will fit into a narrower one and so save you postage.
Neat idea!
Return from Secret Panel Card to Homepage
Search


Recent Articles
-
Memory Book
Oct 15, 22 09:17 AM
 Make a memory book, fun to make and even lovelier to give.
 -
Die cut letters.
Jul 19, 21 10:12 AM
 Add that personal touch with die cut letters, add names or sentiment as you please.
 -
Diaper Fold Card.
Jul 19, 21 09:34 AM
Create this fun Diaper Fold Card...and no need for a pin!
Search