Try these unusual folded cards...
...to keep you and the recipient amused
Don't get bored making the same shapes, try some different folded cards for a change
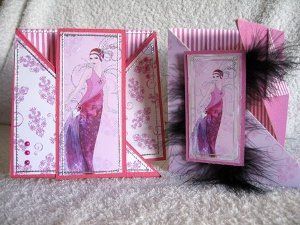
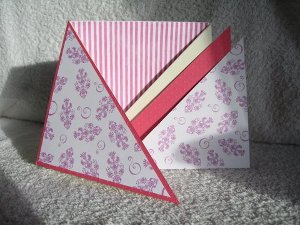
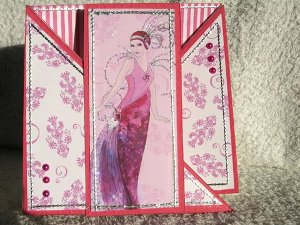
These are the cards we are going to achieve and although they are using the same papers and toppers, they look different because of the layout.
If you would like to see the different styles being produced then please watch the video for the
Step 1
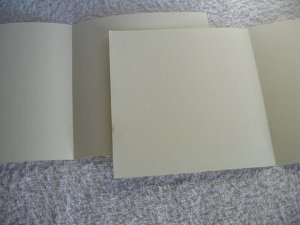
To start you will need two matching A4 cards, measure 6ins and cut both lengthways.
Fold the card in half and you will have a 6" square to work with.
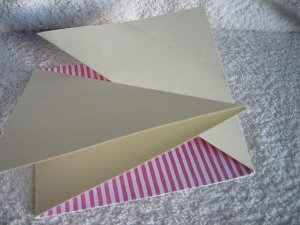
Overlap the two squares (as shown in the photo) and stick them together.
You should end up with a card with three panels and the two outer ones fold inwards to overlap each other. Yes? Oh! good.
Step 2
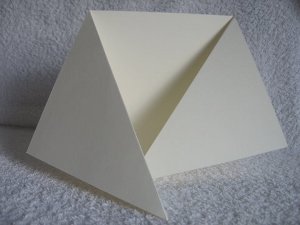
So now you have the choice of which way to fold the fronts.
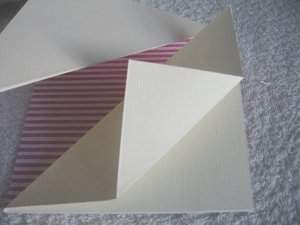
In this example I have folded both the fronts downwards in the same direction...
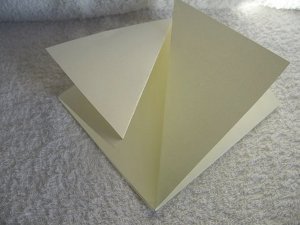
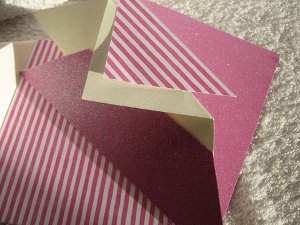
...and in this one they are going the opposite way. So fold one side down and the other side up.
You will need a couple of sheets of paper to either blend or contrast to decorate the card, and for advice on choosing colours go to the Colour wheel.
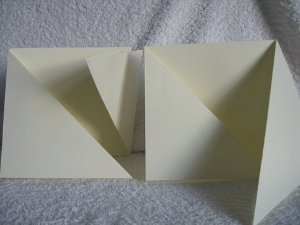
And these are what each of the folds looks like.
Why not have a go at making them both as they are easy to do and really do make a card look different.
Now we are ready to start adding the bling!
Step 3
Decorate the inside panel with some pretty paper.
Then to decorate the front panels you will need to cut some coloured card slightly smaller, and some of your chosen paper slightly smaller still.
Layer both to the front of each triangle.
These steps apply no matter which of the folded cards you decided to make.
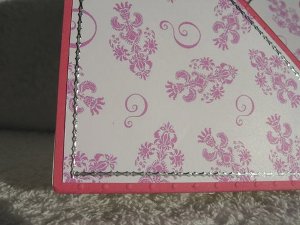
Here I have just added some silver peel offs to the paper panels, and run a pink ink pad around the edges of the card too.
You may decide to add some faux stitching or just leave it plain, the choice is yours.

Step 4
Choose your topper and make sure it fits the front of your card.
Layer it onto the same colour card you used for the triangles.
Add some of the peel offs ...
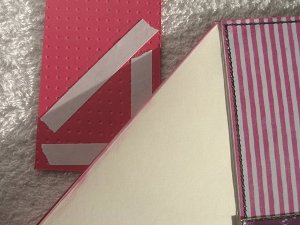
... here I have used some double sided tape but it is better to use a wet glue as double sided tape dries out and the card can fall apart.
So add whichever glue you prefer to the back of the topper, but only on one side, as shown, otherwise you will stick your two panels together!!
Uh Uh!
Step 5
Finish the card with some gemstones or pearls, add some sparkle to the dress, put your sentiment inside the card and there she is, all dressed up and ready for the ball.
If you chose the other option in the folded cards then layer the back and your topper in the same way.
You can also add another fold to the front panel by bending down the top corner once more. And so add yet another variation to the card.
And this is the only step that will be different.
The left front panel is layered the same way as the other card, but the right panel will need to be done in sections to fit the extra bend.
I have alternated my panels with some glitter card and the stripy paper. And used a flowery paper to the left.
TIP ... If you are adding things to glitter card then use some "Pinflair Glue Gel" or you will find that it won't stick with double sided tape or foam pads.
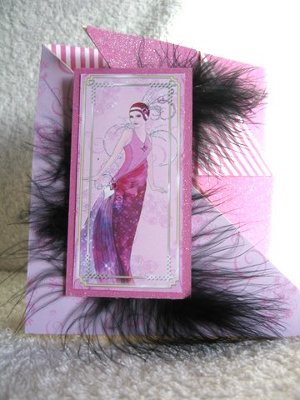
To finish this card I used some black feathers from my "stash", glitterd the dress and fastened the topper to the left side of the card front.
I hope you enjoy these folded cards.
Don't forget to add..."Handmade by...your name ..." to the back.
Pocket Card
Easy Projects
More Projects
Cardblanks
Kinetic Cards
Novelty Cards
Papercrafts
Return from Folded cards to Homepage


Recent Articles
-
Memory Book
Oct 15, 22 09:17 AM
 Make a memory book, fun to make and even lovelier to give.
 -
Die cut letters.
Jul 19, 21 10:12 AM
 Add that personal touch with die cut letters, add names or sentiment as you please.
 -
Diaper Fold Card.
Jul 19, 21 09:34 AM
Create this fun Diaper Fold Card...and no need for a pin!
Search
