Make a minibook...
... and fill it with memories!
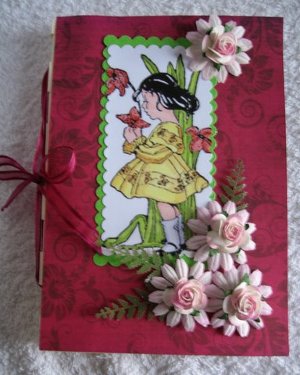
Another project for you to try. This minibook can be for you to keep or give to someone special
Search

This pretty project would make a wonderful small gift for someone.
It could be filled with photos and stories, poems and momentoes of the person you are making it for.
Or you could make it for your self.
Store all your little treasures in there and look back on them in the years to come.
For this minibook you will need an A4 card and a bamboo skewer.
These you can get form the supermarket for a few pence, but you will have quite a lot in the bag..... so you'll have to have a BBQ.... to use them all up.
Step 1
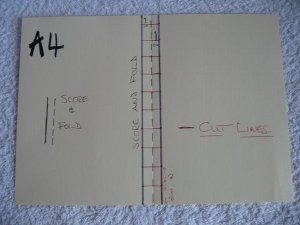
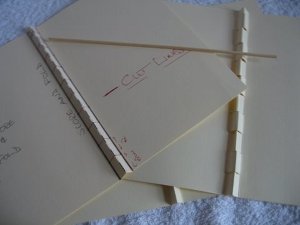
This is how you will make the booklet.
Score the card in half but don't fold it yet. (The dashed Line)
Then 1cm to either side, of the centre, score two lines from top to bottom. (The solid lines)
You should now have a column in the centre that looks like the photo.
Along this centre panel you will mark off every 2cms (the horizontal lines) and this is where you will cut the spine.
Step 2
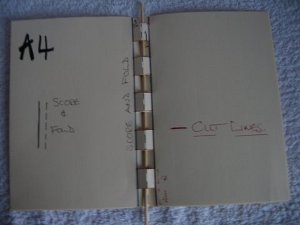
Once you have made the cuts, fold the card along the half way score line (the dashed line)
Then fold it the oposite way on each of the other two (the solid lines)...
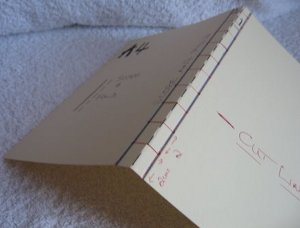
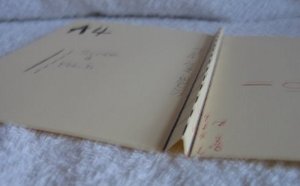
...and this is what you should have.
Yes? Oh! good...
For my booklet I decided to add three pages, but yours can be whatever you want.
It will be more tricky to work with if you add too many pages.
You will need to repeat the score, fold and cut on each of your pages.
Then place them all together (one on top of the other) for the next step.
Step 3
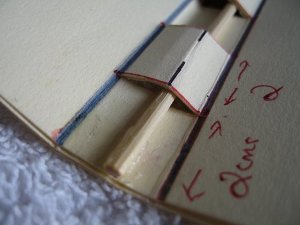
Through each of the cuts we are going to weave, in and out, the bamboo stick.
Make sure it loops through all the pages.
I have just secured my bamboo stick in place with a small spot of "Pinflair Gel Glue" (fabulous stuff!)
This will stop it falling out of the book, so leave it to dry and then cut off the extra length from the stick.
Does your booklet look like this so far?
Step 4
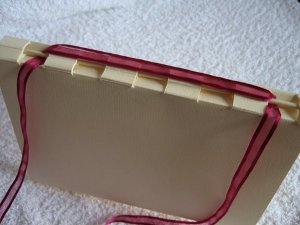
You can decorate the front of your booklet at this stage.
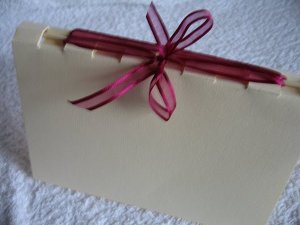
But this photo shows you how to add the ribbon.
I have looped mine through the top and bottom openings.
Make sure it is long enough to wrap around, and tie in a bow.
Pretty...
I haven't shown the inside because you can decorate yours as you wish.
You could make your minibook for a wedding gift, a birthday, someones graduation or another special occasion.
How about this for an idea...if you have grandchildren make a little story book for them.
And if you are really clever you could make up your own story...
Magic!
Return from Minibook to Homepage
Search


Recent Articles
-
Memory Book
Oct 15, 22 09:17 AM
 Make a memory book, fun to make and even lovelier to give.
 -
Die cut letters.
Jul 19, 21 10:12 AM
 Add that personal touch with die cut letters, add names or sentiment as you please.
 -
Diaper Fold Card.
Jul 19, 21 09:34 AM
Create this fun Diaper Fold Card...and no need for a pin!
Search