Micro Glass Beads
The Micro Glass Beads are a relatively new product and they can give a really cool effect to your designs.
I would advise you to decant the beads from the jar into a larger container.
That way you can add shapes to the larger box rather than trying to pour the beads onto your shapes.
They will roll everywhere and you will never recover them.
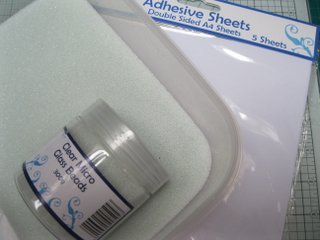
You will also need some double sided adhesive sheets for the beads to stick too.
Both of these products are available from Creative Expressions along with many other crafters embellishments to tempt you.
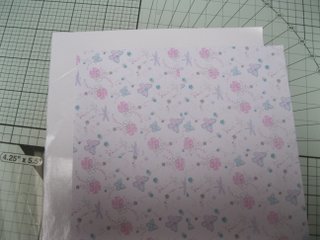
Cut your adhesive sheet to the size you need it and add it to the right side of your chosen paper.
You will be able to see the pattern on your paper through the sheet and also through the beads when they are added.
If you want to make this into a shape then now is the time to do it... before you peel off the other side of the sheet and before you add the beads.
I am leaving my sheet as a square as I want to use it as a backing panel.
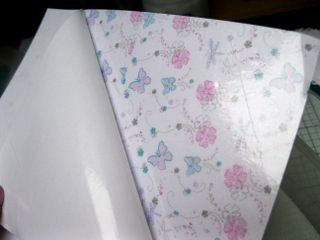
Once you have the shape cut, then remove the other side to the adhesive sheet.
Press it face down into your container with the Micro Glass Beads in it.
Make sure that you finger press all the areas of your paper or shape onto the beads.
Then very carefully lift it out of the container.
Allow the the beads roll off the panel and back into the container.
Take care as they are so tiny they will roll everywhere and the last thing you want to do is waste any of them.
This is the reason I advised decanting the beads into the larger container ... just makes life easier for you if you do

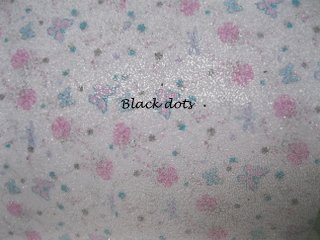
Sometimes you will find tiny black dots on your paper.
This is part of the manufacturing process and is nothing to worry about.
With the tip of your craft knife or a poky tool lift them off.
Then re-dip the paper back into the beads and press firmly with your fingers to fill the empty area.
The difference to the paper once the micro glass beads have been added is clear and the pattern is still visible through the beads.
You can add these to a sentiment and it will still be readable.
It is another dimension and the beads will go along way... making them a cost effective addition to your crafting "Stash"


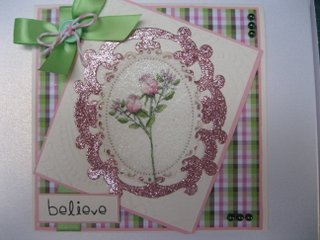
Here you can see the effect on this die cut panel and the rose is showing through the beads.
It has then been added to a glittered panel and the whole topper added to a card.
Add any other embellishments that you have and create for yourself a very pretty card that would suit any occasion.
I have matched the ribbon and backing paper to the colours in my Rose and added the sentiment to the lower corner.
A button threaded with Bakers Twine is at the top of the bow.
Tiny self adhesive pearls along the bottom edge just finish the look.
Return from Micro Glass Beads to Homepage


Recent Articles
-
Memory Book
Oct 15, 22 09:17 AM
 Make a memory book, fun to make and even lovelier to give.
 -
Die cut letters.
Jul 19, 21 10:12 AM
 Add that personal touch with die cut letters, add names or sentiment as you please.
 -
Diaper Fold Card.
Jul 19, 21 09:34 AM
Create this fun Diaper Fold Card...and no need for a pin!
Search
