How to make a Paper Shirt.
To make a paper shirt is easy to do ...just follow the steps.
This novel project is easy to do and these steps will show you how.
If you prefer to watch and learn then here you will also find the Video Tutorial.
Step 1
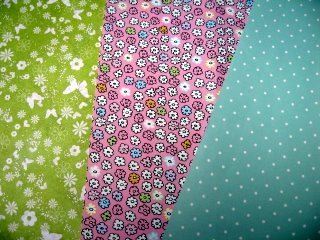
Choose the paper you want to use.
Because it is a small project it is best to keep your pattern small. A big one would be lost in the folding.
I am going to use the pink flowery paper.
It is a fairly thin paper which will keep it easy to fold.
Step 2
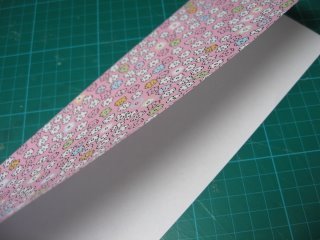
Lay the paper with the good side down on your mat, and fold it in half lengthways.
Crease it and then open it out again.

Step 3
Fold each of those halves into the centre and crease again. Open it out.
You should now have three crease lines on your paper.
Step 4
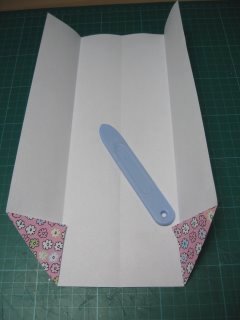
Take each of the outer corners and fold in towards those outer crease lines.
(The photo shows you how it should look)
Using a bone folder will give you a nice sharp crease but if you don't have one then use the back of a clean spoon instead.
Step 5
Close the paper up, and then take the edge and fold it all down to just past the "V" opening. Crease it then open it back again.
We are going to create the sleeves with the next fold...
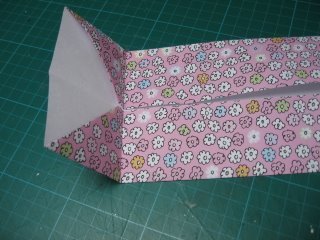
Step 6
...so take the lower part of the "V" and fold it to the outer edge of the paper, keeping it straight and crease.
You will see that the paper is starting to fold downwards...this is what you want it to do.
Crease it and repeat on the other side.

And once you have done this your shirt sleeves will look like the photo....Hopefully!!
Now when you make a paper shirt it will need a collar...
...so flip the paper over so that where the paper joins in the centre opening it is underneath.
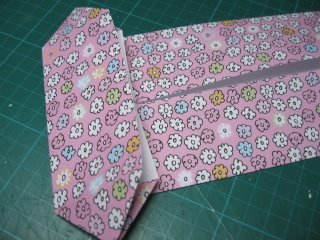
Step 7
Fold towards you the edge of the paper (that is the opposite end to the sleeves) by about 1.5cms (about half an inch)
Flip it back over so that the fold you have just made is now underneath and the opening join in the paper is on the upper side.

Then take each of the outer edges, in the fold you have just made, and fold in towards the centre join and crease sharply.
This will form the collar flaps to your shirt.
(The photo shows you what you are aiming for)
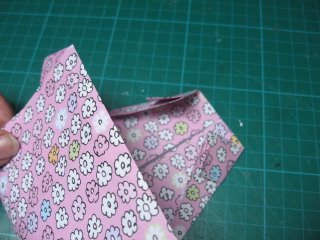
Step 8
Then the last thing to do is fold the sleeve part of your shirt up and tuck it under the collar flaps that you have just created.
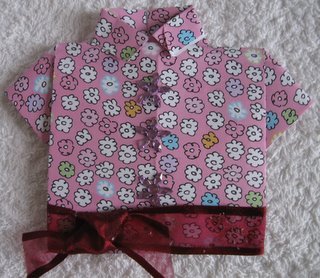
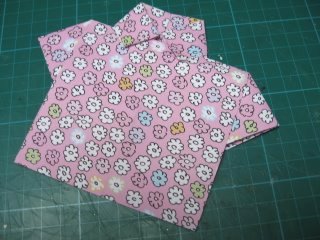
And there you have your paper shirt.
Once you get the hang of it you can decorate it how you wish.
Perhaps you want them for invitations to a BBQ, dinner party or a childs birthday party.
Here are some more ideas.
I hope you will want to learn how to make a paper shirt, and it is a fun project to teach children too.
Return from Make a Paper Shirt to Homepage
Search


Recent Articles
-
Memory Book
Oct 15, 22 09:17 AM
 Make a memory book, fun to make and even lovelier to give.
 -
Die cut letters.
Jul 19, 21 10:12 AM
 Add that personal touch with die cut letters, add names or sentiment as you please.
 -
Diaper Fold Card.
Jul 19, 21 09:34 AM
Create this fun Diaper Fold Card...and no need for a pin!
Search