Want to be more adventurous?...
...then try "Kinetic cards"
Kinetic cards are the new buzz words in the crafting world and the dictionary listing says it means .... "causing motion"
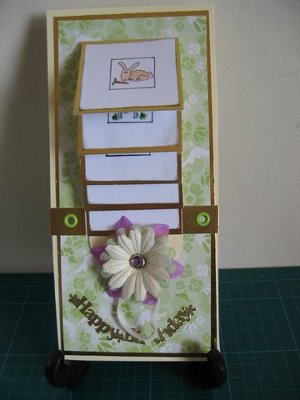
Have you admired the pretty Waterfall Cards or ever wondered how to make Shaker Cards
Do you like the look of the Penny Slider Card that is always a hit with children?
How about hiding a message in the
Secret Panel Card
And the secrets are revealed of the Magic Slider Card which is sure to fascinate adults as well as the children you give this card too
These pages will help you to keep the interest alive for your next creation, and with just the basics that you probably already have in your stash.
These styles are all easy to do, and so please don't be put off because some of them look a little daunting ... don't let that stop you having a go.
I have marked clearly all the cards in these section with measurements and bold lines to show you what to do on each step of the way.
It's a good idea for you to do the same, on some spare card that you have. Make your marks easy for you to read and understand.
This will make a Template for you to use and if you keep it safe, and then use it for future reference you will always be able to refer back to it
Because when you haven't made a card for some time you may forget the steps you need, and this template will refresh your memory.
Practise with the techniques first, until you feel confident to let yourself loose on your good stuff.
There are lots of adventurous ideas and more will be added as I go along.
There are also some really Easy Projects for you to try, and some paper crafting ideas too.
Click the Links to visit the other pages with step by step instructions on how to make the featured Kinetic cards.
Then stand back and glow in the praise as your friends admire the work that you have done.
A lot of these cards are also in the Video Tutorials section and you will find many more ideas for all different aspects of cardmaking for you to try on
Kinetic Cards
Return from Kinetic Cards to Homepage


Recent Articles
-
Memory Book
Oct 15, 22 09:17 AM
 Make a memory book, fun to make and even lovelier to give.
 -
Die cut letters.
Jul 19, 21 10:12 AM
 Add that personal touch with die cut letters, add names or sentiment as you please.
 -
Diaper Fold Card.
Jul 19, 21 09:34 AM
Create this fun Diaper Fold Card...and no need for a pin!
Search
