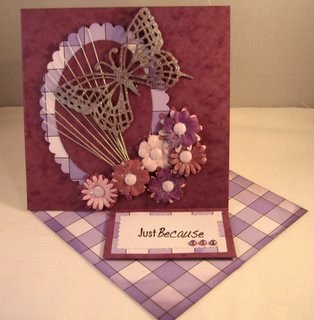
Twisted Easel Card
... for another slant on things
The Twisted Easel Card is another way to create this lovely card fold and then decorate it to suit the recipient
I hope you have given the Easel card a try...and don't forget the Double version too.
And then as your confidence is on a firmer base then there are other variations for you to try and the steps to create them are all here just for you to copy ...
Double Twisted Easel.
Triple Easel
Triple Twisted Easel
Quad Easel
Gatefold Easel
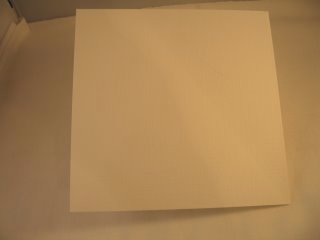
Step 1
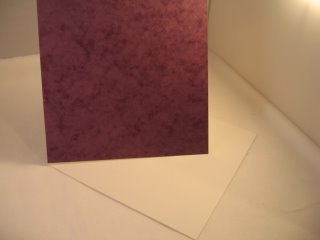
With the card or your choice will need to fold it into a square.
(If you are using patterned card then have the good side facing upwards)
Mine is 15cms (6")
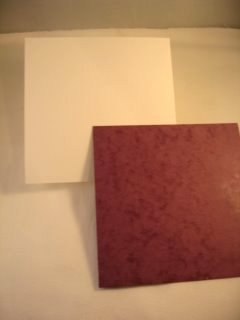
Step 2
You will also need another piece of card the same size as your card square.
This can be from patterned card and will be glued to form the easel part at the top of the base to your Twisted Easel Card
Leave this to one side for now

Step 3
Open the card out and take the top left corner and fold it into the centre.
This creates the easel part to the card and is where you will attach the panel from the previous step
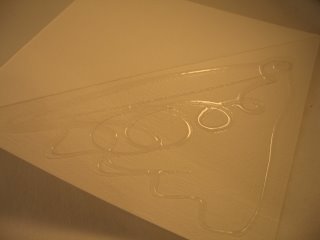
Step 4
Apply a wet glue to the lower part of this triangle only, if you glue to far then you will not be able to open the card as an easel.
(As shown in the photo)
Step 5
Add the other square of card to this glue and press in place.
It will now look like the photo, and you can see that the easel is twisted on the base card.
If you are using a patterned card then please make sure that the pattern will be the correct way once the card is opened
Step 6
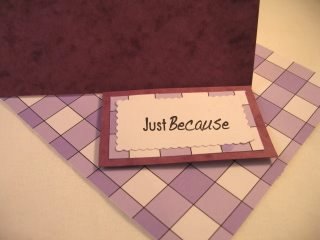
Line the base with some pretty paper and choose the sentiment you need.
If you have used patterned card then you will be able to by pass this step
To create the little "Stop" that will hold the easel open I have stamped a sentiment and then Matted and layered it onto some of the card and paper you have used.
This is the piece that will hold the easel open for you so add it to the base with some foam tape to raise it up a little.
Decorate the rest of your card however it pleases you.
Use any embellishments that you have in your ever growing "Stash"
I have added flowers...glitter... pearls... and some really fine twine wrapped around the Spellbinders Classic Scalloped Oval
A really pretty Twisted Easel Card that can be for any occasion.
Have fun!Return from Twisted Easel Card to Homepage


Recent Articles
-
Memory Book
Oct 15, 22 09:17 AM
 Make a memory book, fun to make and even lovelier to give.
 -
Die cut letters.
Jul 19, 21 10:12 AM
 Add that personal touch with die cut letters, add names or sentiment as you please.
 -
Diaper Fold Card.
Jul 19, 21 09:34 AM
Create this fun Diaper Fold Card...and no need for a pin!
Search
