Word books, so pretty, so personal...
... and made with love.
Word books are more than just a card.They can be so personal and say lots of things in many ways.
If you prefer to watch the card being made then here is the Video Tutorial

Discover this delightful project, they are really easy to make.
The programme I used is a CD I bought from Funky Hand and it has lots of different themes on it.
Plus extra backing papers and alphabet sheets.
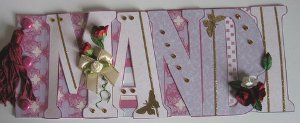
This is one I made for my daughter and I am really pleased with the result.
The colours are lovely and it was a pleasure to make.
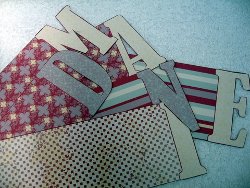
Choose the letters you wish to assemble and place them in order.
It's best to stay at a word with five letters, but you can make them bigger if you wish and I will show you how.
You will need to get larger envelopes, or boxes.
Make your own, click the link for Special Card Boxes
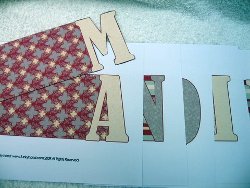
Once you have printed them off, cut them out and ink around the edges. This will make the letters stand out. (It also hides any uneven cutting)
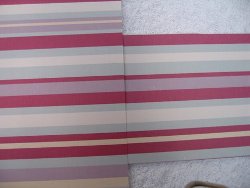
If you wanted to make a longer word, then all you need to do is print off a sheet of the backing paper that matches the paper your letter is on.
Then marry up the pattern neatly......
.....and hide the join with a length or ribbon or a peel off.
You will need to cut down the left side of the word book, so that all the pages are level, make sure your word is spelt correctly at all times.
Keep the offcuts for another project.

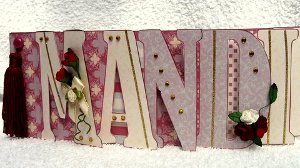
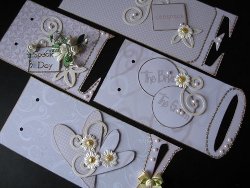
I then made three holes to the left of the "M" and joined the pages with brads, and the tassel was fitted into the top brad.
I used gold border peel offs, red and white paper roses, leaves and gold gemstones.
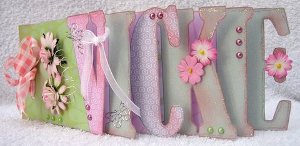
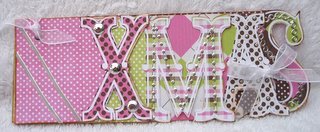
This is another version of the card, made for my other daughter.
Made in exactly the same way, but with another collection of the papers from the same CD.
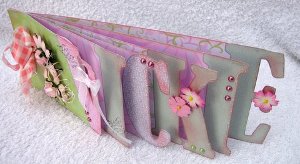
The pages to the book are all seperate and can be decorated as you please.
The embellishments will depend on the person and the occasion for which you are making the book.
If you wanted to put photographs inside then print them off and use the copy instead of the original.
The paper you are using is most likely not acid and lingun free the original could be damaged.
Word books are so versatile. I would suggest that you decorate each page seperatly, before you assemble the book, it is a lot easier to do it that way.

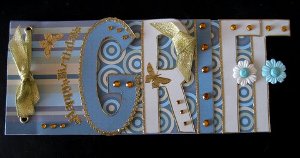
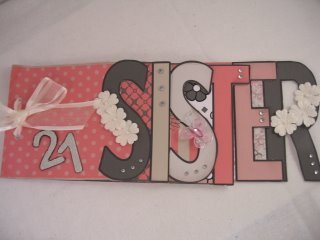
And for the special man in my life here is one for my husband too.
Problem is ...he will now know what his Birthday card is like!!
All these things go to keep your interest alive in producing your own creations, and of course dazzling the people that receive them.
Magic!
Return from Word books to Homepage
Search


Recent Articles
-
Memory Book
Oct 15, 22 09:17 AM
 Make a memory book, fun to make and even lovelier to give.
 -
Die cut letters.
Jul 19, 21 10:12 AM
 Add that personal touch with die cut letters, add names or sentiment as you please.
 -
Diaper Fold Card.
Jul 19, 21 09:34 AM
Create this fun Diaper Fold Card...and no need for a pin!
Search