Magic Slider Card...
The Mystery Revealed.
This is the card that lots of people want to know how to make...so here is the Magic Slider Card revealed

The Mystery about this clever little card is that there is no mystery.
The Magic Slider card is very easy to make and yet will delight the recipient....especially if you make them for children.
You will also be able to watch the card being made, if this is your preferred way of learning, so here is the Video Tutorial
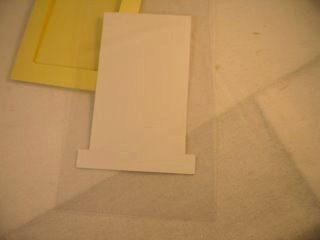
Step 1
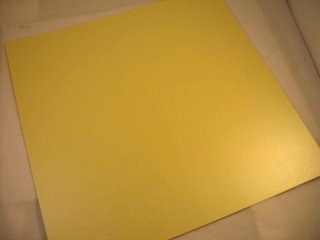
I have used a 30 x 30 cms square card, and folded it in half.
Then from each outer edge I have measured in 10cms, then folded and creased all the edges with a bone folder.
With a craft knife I have cut away the two outside panels on each side.
This will give you a "T" shape as shown.
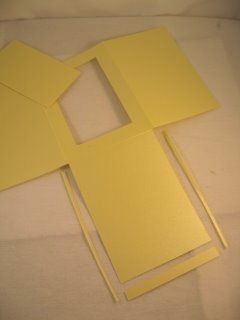
Step 2
From the lower part of the "T" trim very lightly around the outside edges and trim about 1cm off the bottom of the card.
In the top, centre panel cut out an aperture leaving a frame of 2cms.
Your card should now look like the photo.
Step 3
On the outside edge of the centre panel, (with the aperture), trim a half circle using a punch.
Then fold up the bottom panel to the centre and fold the other two side panels inwards.
It doesn't matter which side panel goes first, but they need to be glued together.
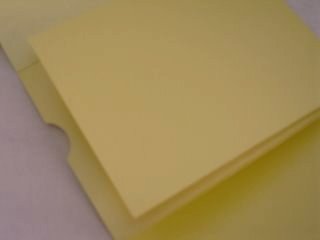
Don't glue them to the rest of the card, you are making pockets.
Here you can see the two pockets that you will have created with the central divider just visible.
This step is important because it is where the rest of the parts will fit.
Step 4
Now to make the inner part of the Magic Slider Card.
I have used white card and measured a piece that is slightly smaller than the pocket.
This needs to be able to slide into the pocket freely, so test it out first.
Then down each side trim it a little more so that you leave tabs at the bottom of each side.
You will also need a piece of acetate that is larger than the white panel. This will be trimmed later.
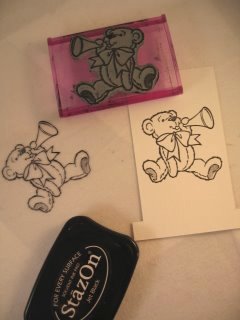
Step 5
Stamp your chosen image, once onto the acetate and once onto the white card.
Colour in the image on the white card as you wish.
Then set aside for a short time to dry so as not to smudge the image on the Acetate.
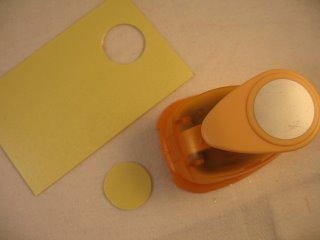
Step 6
While you wait punch a circle from a spare piece of the card.
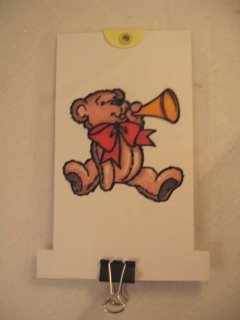
Step 7
Once the image on the acetate is dry place it over the coloured image so that it lines up precisely.
Hold it in place with a paper clip, and trim the acetate to fit the card.
Fold in half your punched out circle and add it to the top of both panels and attach with an Eyelet.
Do this carefully so that the acetate does not move off the coloured image.
They need to be perfectly together.
Step 8
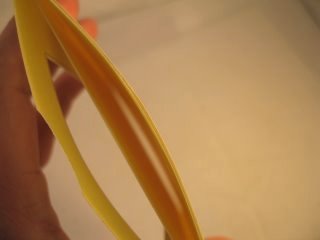
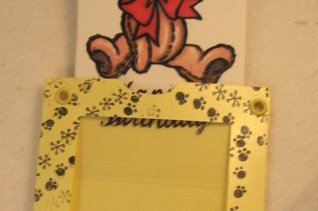
Now take your base card and push the sides slightly to open the pockets up.
Carefully place the coloured image behind the central divider and the acetate to the front of it, so that it is in the aperture and slide it down.
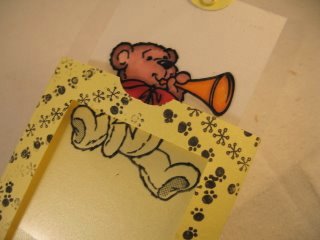
You can now see that the image is plain....but when you slide it up again it becomes coloured....Yes? Oh magic!
Step 9
And finally to stop the slider being pulled out fully I have added some eyelets to the top.
Make sure that you don't go through the actual slider as you add them, but these will make sure that the tabs you added to the inner card won't come out.
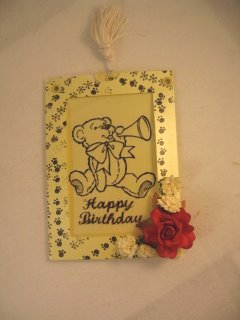
And finally...you can decorate the card just as you wish to suit your recipient.
Add any Embellishments that you have in your "stash", but most of all have fun making it, it's sure to get some comments.
This Magic Slider Card suits all age groups and occasions, and can be adapted for male and female cards.
Return from Magic Slider Card to Homepage
Search


Recent Articles
-
Memory Book
Oct 15, 22 09:17 AM
 Make a memory book, fun to make and even lovelier to give.
 -
Die cut letters.
Jul 19, 21 10:12 AM
 Add that personal touch with die cut letters, add names or sentiment as you please.
 -
Diaper Fold Card.
Jul 19, 21 09:34 AM
Create this fun Diaper Fold Card...and no need for a pin!
Search