Big Cards
...Beauty on a Large Scale!
Big Cards are very trendy with cardmakers this season, so lets get busy and join the trend!
Do you like the bigger cards that are very "In" at the moment, and all you have is a box full of A4 card...and a large box at that!!
Well you can put it to good use by making the larger version from what you have in your stash...
Here's how.
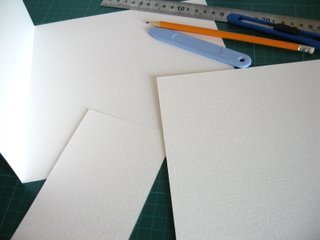
Step 1
You will need two matching pieces of A4 card, approximately 21 x 30cms.
They need to match because they are going to be joined together.
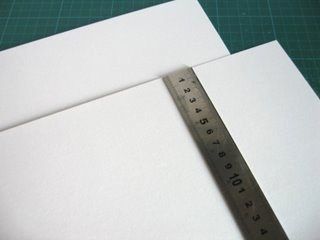
Step 2
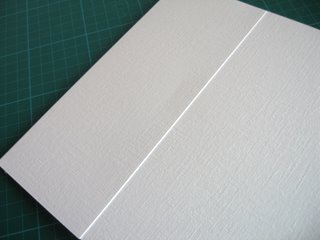
Place the cards down, and measure in from one short side 21cms.
Make a feint mark at the top and bottom of both pieces.
On both of the pieces, use a metal ruler to join these two marks and score down the card.
One of the pieces is now going to be folded and creased sharply, the other will have the surplus piece cut off.
Don't throw away these odd bits though as they can be used on another project, take a look at
Step 3
On the inside flap, of the piece that has been scored and creased add some glue.
(Make sure the good side faces down when you do this.)
Double sided tape or a wet glue, your choice... but bear in mind that a wet glue is by far the strongest way to secure anything.
Double sided tape dries out and the join will then split.
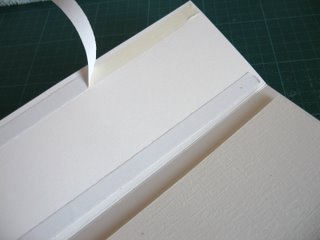
Step 4
Place the other card up to the fold, (making sure you have this card the correct way around,) and press down the flap to secure in place.
Step 5
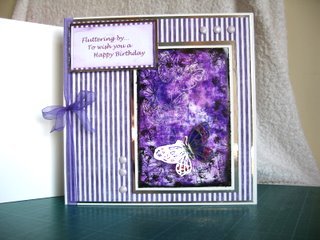
The card should now be a lovely 21 x 21cms size and is the basic Big Card completed.
It is now ready for you to decorate as you wish.
I have cut panels to mat and layer the front of my design, making each mat slightly smaller.

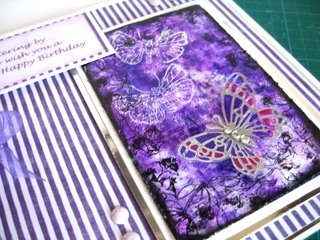
Every part of this card has been created using techniques clearly covered on this website.
The background panel is Brayered Paper.
The white Butterflies (only just visible in the photgraph) have been Heat Embossed .
The silver Butterfly is from a Peel off that has been added to some Acetate, and the wings curled up for effect.
Add some Ribbon and any other Embellishments that you have in your stash and "Bling" it up to your hearts content.
The whole panel has then been Matted and Layered using any of the Special card you have.
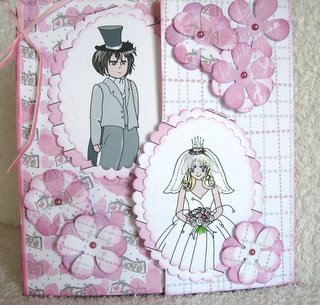
These images are from the "Love and Cherish" CD from Polkadoodles
Have fun with these and welcome to the Big Card trend!
Magic!
Return from Big Cards to Homepage


Recent Articles
-
Memory Book
Oct 15, 22 09:17 AM
 Make a memory book, fun to make and even lovelier to give.
 -
Die cut letters.
Jul 19, 21 10:12 AM
 Add that personal touch with die cut letters, add names or sentiment as you please.
 -
Diaper Fold Card.
Jul 19, 21 09:34 AM
Create this fun Diaper Fold Card...and no need for a pin!
Pretty Embellishments
PopShops™ affiliate storesSearch
