More than just for sticking...
...Glitter Glue can be made to work for itself.
Glitter Glue is often forgotten, but it can produce some lovely effects.
Search

The often overlooked product can be put to use in several ways.
It can add definition to your images, if used as a shading to them. It can also highlight different areas on your card too.
Add it to the embossed channels, for an unusual effect, or as the center to some of your flowers.
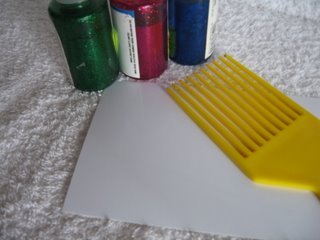
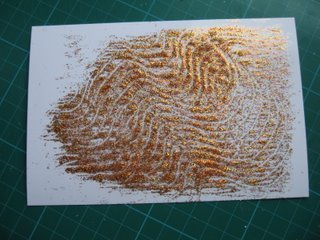
This easy finish is achieved with nothing more than some cheap glossy photo card and an old comb.
And any glitter glue that you have in your stash.
Play with the colors that you have, and mix and match them too.
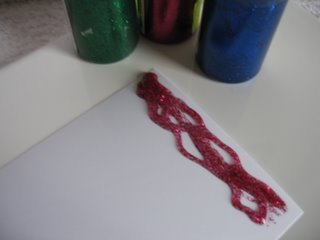
Spread a large strip of the glue along the top of your card.
Add plenty as you are going to drag it out...
...with the old comb.
Just drag the prongs through the glue to the bottom of the card.
Keep going over until it has spread out.
Add more glue if you need to.
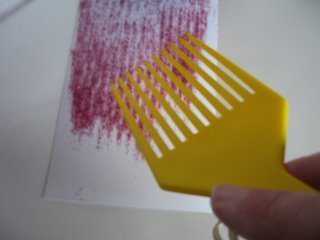
The picture is a little blurred..but you get the idea...
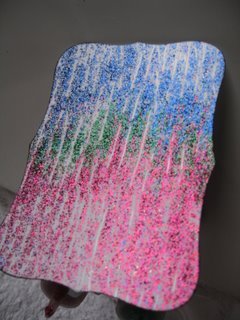
On this one I added another color to the other side and dragged that out, until they met in the center of the card.
Then leave it on one side to dry...and this could take a few hours.
Once it has dried, then cut it into the shape you like, and use it to add interest, as a backing to your images.
Here is another one I did in a very rich gold.
I ran the comb through, in squiggly lines for this one.
Once the glue is dry the glitter will not come off, and it can be used as a topper on your designs.
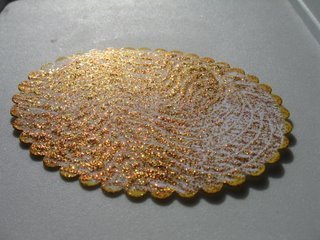
The glittery sheen can be seen in this photo.
The shape was die cut with Spellbinders "Nestabilities"
Here is the oval added to a card...smart eh!
Have a look at some of these other ideas for making your own backing papers.
Very easy to do, but so effective. The photos do not do the end result justice.
Each link opens a new window.

Return from Glitter Glue to Homepage
Search


Recent Articles
-
Memory Book
Oct 15, 22 09:17 AM
 Make a memory book, fun to make and even lovelier to give.
 -
Die cut letters.
Jul 19, 21 10:12 AM
 Add that personal touch with die cut letters, add names or sentiment as you please.
 -
Diaper Fold Card.
Jul 19, 21 09:34 AM
Create this fun Diaper Fold Card...and no need for a pin!
Search