Matting and Layering...
...simple and easy!
Matting and layering was a term I had never heard of when I started to make cards.
I read about it many magazine articles, but no body explained what it was or how to acheive it. They all seemed to think that the reader would know what was meant by these terms.
Well I didn't !!
So here it is de-mystified, and it makes all the difference to your cards.
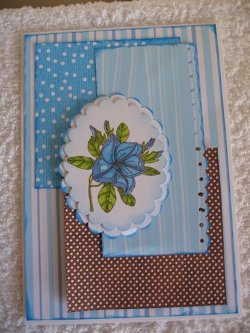
The technique is quite simply building up your chosen image onto other papers or cards for effect.
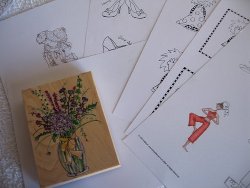
Decide if you want to use a stamped, printed or shop bought topper, and plan your colour scheme first.
Or perhaps you are going to colour in your own. It's easier to colour in to match your paper, than the other way round, when you are colouring it in yourself.
Colour it in with your chosen medium, Promarkers, Spectrum Noir, Water colours, pencils or
Distress Inks.
If you prefer a video explanation of the technique then you will find it here Cardmaking-Matting and Layering Tutorial
Once you have chosen the focal point for your card, decided what you would like it to be surrounded by.
Maybe some gold or silver card, to add the shimmer. Glitter or textured card is another good choice.
This is the matting part. The base to your image.
Cut this mat out slightly larger than the image, to leave a frame around the edge.
You can hand cut the layers into squares or oblongs, or trace around a plate, cup or jar to get a circle.
All these have been produced with
Spellbinders dies
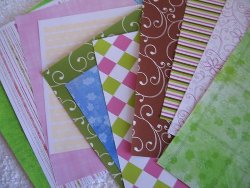
Two or three colours that blend together is a good choice.
Flowers, stripes, swirls, dots in fact any patterns will go together as long as the colours blend.
If you are afraid to try colour combinations then why not have a look at the Colour Wheel.
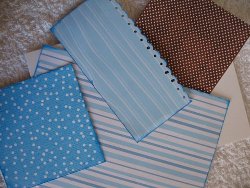
Cut them into panels to fit your card, and make them in different shapes and sizes to add interest.
Punch borders into some, or use fancy edged scissors for a similar result.
Try laying them down at an angle, or off set to each other for another effect.
I like to ink the edges too.
Position them on the card in a practise "dry" run before you glue them all in place.
Move them around until you are happy with the result. Working from a Sketch will always help with the planning.
When you are happy then glue them down.
A wet glue will give you time to re-position if you make a mistake.
Double sided tape is permanent and once you have placed the paper it's stuuuuck!!
You may want to get some height into the topper by adding foam pads, "Pinflair" glue gel or silicone to it.
Now comes the good bit....where you get to choose the embellishments you are going to add to the card as a finishing touch
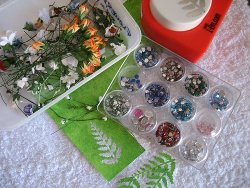
A few gemstones or pearls, a bit of ribbon or some glitter can all make the matting and layering special.
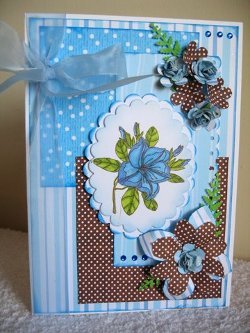
But for me the perfect finishing touch is always the flowers.
Make your own paper flowers and that way you will always have one to match your card.
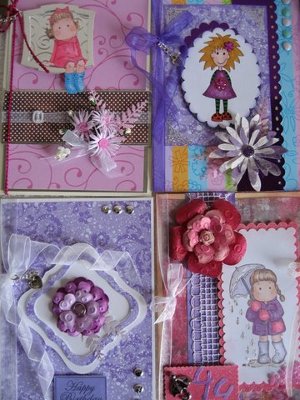
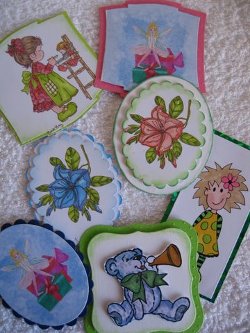
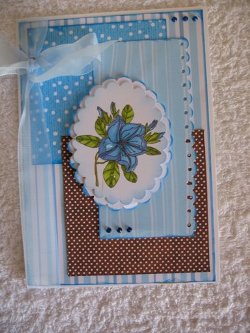
I have used the matting and layering technique on all these cards and they are all very different.
It gives such a lovely finish to your projects and is much more effective than a flat card.
The card in the lower left just uses a flower as it's focal point, so no colouring in to be done at all. What could be easier?
Magic!
Return from Matting and Layering to Homepage


Recent Articles
-
Memory Book
Oct 15, 22 09:17 AM
 Make a memory book, fun to make and even lovelier to give.
 -
Die cut letters.
Jul 19, 21 10:12 AM
 Add that personal touch with die cut letters, add names or sentiment as you please.
 -
Diaper Fold Card.
Jul 19, 21 09:34 AM
Create this fun Diaper Fold Card...and no need for a pin!
Search
