Try this little Cat Card...
...another Novelty Card to make
This is another fun card in the "Novelty" range...and this Cat Card is easy to do and you will find lots more characters for you to base your cards on in the Novelty Cards Section
It's time to get out all those scraps again as we make this cat card to delight the kids.
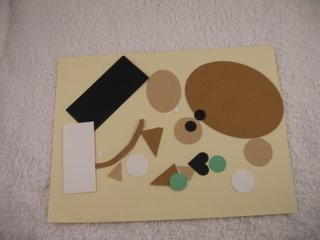
Using whatever paper punches, shop bought shapes or die cuts that you have, make your self lots of different shapes to start.
Ovals, circles, heart shapes, all can be used to create these novelty cards.
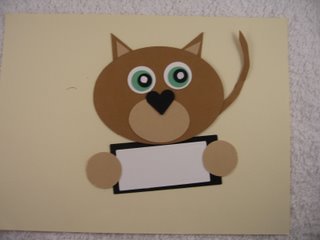
Step 1
I have used two shades of brown for my card.
Cut out a large oval in one of the shades.
Cut a smaller oval in the other.
Cut two medium sized circles for the paws.
And hand cut a curved piece for the tail.
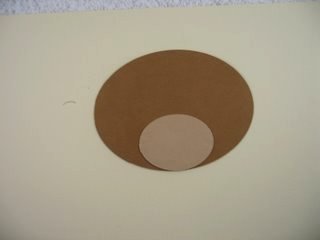
Step 2
Layer the smaller oval onto the larger one.
It doesn't matter if your oval is larger than the one shown, it can always be trimmed to fit the cats head.
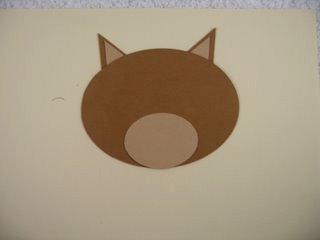
Step 3
Cut some triangles for the ears in each of the colours and make one set smaller to be the inside of the ears.
You could also the inside ear in pink as well for another card
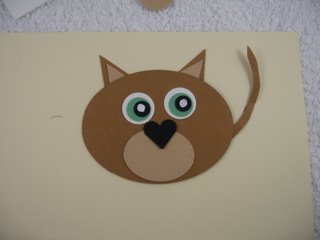
Step 4
Cut two white circles for the eyes, and two more in whatever colour you want your cats eyes to be.
Cut two small black circles, then either colour the centre with a white pen, or add Googly Eyes.
I added a small heart shape in black for the nose.
But why not try a pink nose
Step 5
The curved tail is fitted to one side of the cat.
The two paws have been added to either side of a label to hold it in place and ready for the sentiment to be stamped onto it.
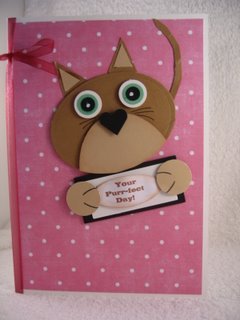
The finished card has had some hand drawn whiskers added, and my sentiment is computer generated and added to the centre label.
Add small curved lines to the paws to look like the toes.
And when you are happy with the way your cat looks then add her to the front of your card.
Make your backing paper suit the recipient, and a ribbon has been added to mine, and it will suit boy or girl.
Just have some fun and dress it up any way you want.
Retun from Cat Card to Homepage


Recent Articles
-
Memory Book
Oct 15, 22 09:17 AM
 Make a memory book, fun to make and even lovelier to give.
 -
Die cut letters.
Jul 19, 21 10:12 AM
 Add that personal touch with die cut letters, add names or sentiment as you please.
 -
Diaper Fold Card.
Jul 19, 21 09:34 AM
Create this fun Diaper Fold Card...and no need for a pin!
Pretty Embellishments
PopShops™ affiliate storesSearch
