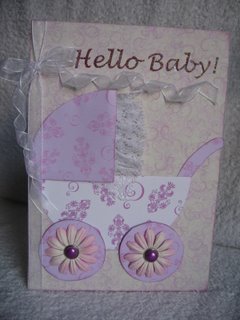
Create this beautiful Baby Pram Card...
In
easy to follow steps
Nothing out of the ordinary is used to create this Baby Pram Card...just a couple of round objects!
A very simple topper to add to your cards and nothing other than circles have been used to produce the body of the pram and the wheels.
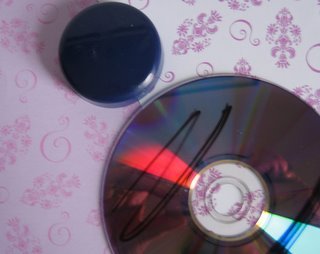
Use your circle punches if you have them, or any round object to trace around.
(The photo below shows a CD and the top of a jar.)
All you need to make sure about is that the two round sizes are relative to each other.
A little bit of freehand drawing makes the handle, but that is not difficult to do.
And then your imagination is needed to create something special for a
New Baby
Step 1
Choose the papers that you wish to use. I used two papers that blended together.
With your CD and the smaller lid from something you have, trace around the
objects on the wrong side of the paper.
Step 2
Cut out two of the large circles and two of the smaller ones.
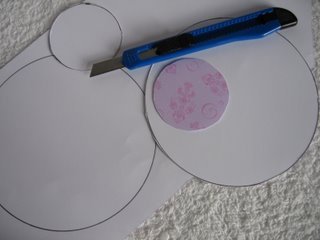
Step 3
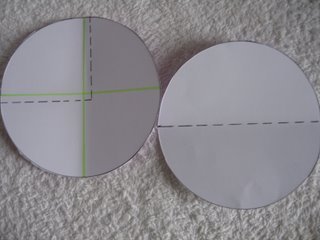
With the two large circles you will need to cut one of them in half.
On the other one, the green line indicates the centre line, but you will need to cut this piece just slightly larger, as indicated by the dashed line.
I always ink the edges of my cut pieces as this helps to define them.
Step 4
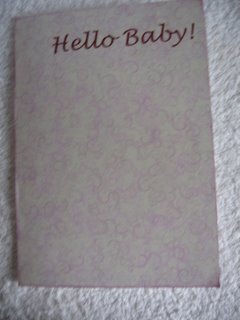
Stick a blending backing paper to the front of the card.
I printed mine off and then ran it through the printer again to add the
"Hello Baby!" to it.
Step 5
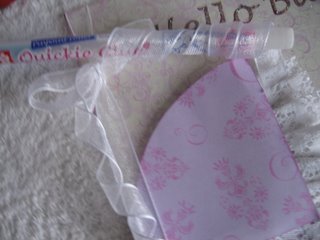
I added some lace to the hood of this baby pram card and some ribbon to the spine of the card.
To get the twirl in the ribbon wrap it around a pencil and when this is
removed stick the ribbon to the card with some glue dots.
Assemble the pram parts to the front of your card. lay the body part flat, and raise the hood and the two wheels onto foam pads.
Attach the handle flat, under the pram body and glue in place.
I added flowers with brads to the wheels and glued them in place with
Pinflair Glue Gel.
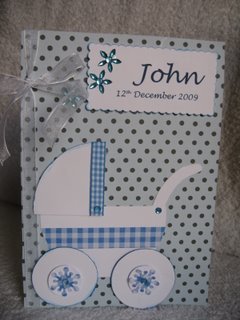
And not to leave the boys out here is one for them.
I have kept this baby pram card less flowery, and stayed with gingham, but on this one the childs name and date of birth have been added to make it more personal.
I hope I have inspired you to try this project and I hope you make some lovely cards.
Perhaps you would like to add your creations to the Gallery.
Return from Baby Pram Card to Homepage


Recent Articles
-
Memory Book
Oct 15, 22 09:17 AM
 Make a memory book, fun to make and even lovelier to give.
 -
Die cut letters.
Jul 19, 21 10:12 AM
 Add that personal touch with die cut letters, add names or sentiment as you please.
 -
Diaper Fold Card.
Jul 19, 21 09:34 AM
Create this fun Diaper Fold Card...and no need for a pin!
Search
