Paper Piecing
Paper piecing is a technique that makes more of your stamps.
It is very easy to do and very effective especially on character stamps.
Stamps make lovely images to top your cards but every now and then we want to do something different to those images.
This is an easy technique to follow and is ideal if you don't like to colouring in.
Each time you will be able to ring the changes, and make more of your stamps
.
Step 1
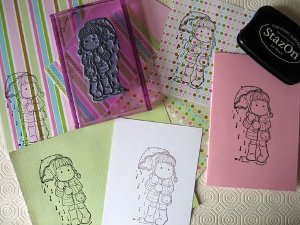
Select the stamp and the papers you want to use.
When you are choosing the papers take into account the size of your stamped image.
It is better to keep any patterns to a small scale otherwise they will be lost on the image.
Stamp the image on each of your chosen papers.
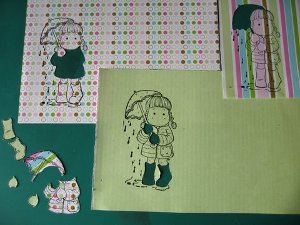
Step 2
Now you need to decide which elements you want from which paper, and cut them out carefully with sharp scissors or your craft knife.
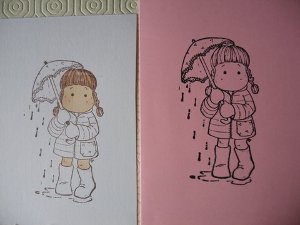
Step 3
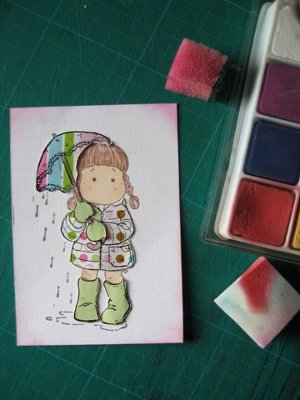
I stamped Magnolias "Tilda" onto white card and coloured the skin in with Copics, but if you don't want to colour any thing then stamp yours onto pink card for the skin instead.
(Easy peasy!)
Step 4
Once you have the elements cut out, they need to be placed onto the same area of the original stamped image.
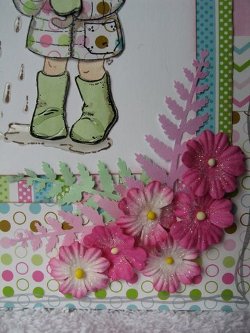
I used Pinflair glue, and rounded them with my fingers a little, to give shape to the wellingtons and her coat.
Step 5
Trim the card to the size you want it, and then you could chalk or ink the edges, add a peel off border or just doodle around the edge.
Any of these will give some definition to the edges of the panel.
Step 6
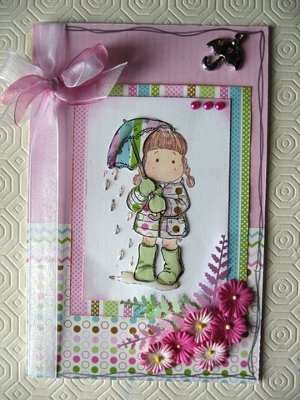
Select the backing papers to suit your creation and layer every thing together to finish.
Use any embellishments you have to hand, buttons,bows,gemstones or ribbons. I doodled around the outside edge with a silver pen. (And it's not meant to be a straight line!!)
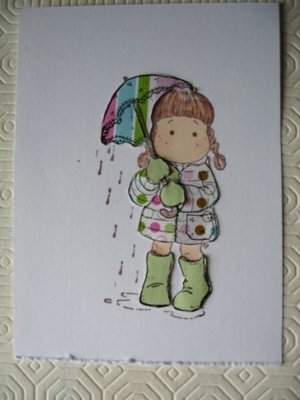
And here is my finished card.
I think she looks lovely in her spotty raincoat and green wellies.
And the rain dripping off her brolly, and landing in a puddle around her feet is created with "Glossy Accents" from Inkssentials.
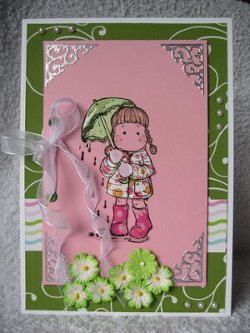
This is the same image done on the pink card. You may need to colour the hair to give it some texture.
Look at the stamps you have. You may have lots that you could use for this paper piecing technique.
You can do the same thing with digital images too.
Perhaps you would end up with a flowery hippopotamus, a stripy giraffe, a spotted mouse or a zig zag elephant.
Anything goes, see what you can create and enjoy.
Magic!
Return from Paper Piecing to Homepage


Recent Articles
-
Memory Book
Oct 15, 22 09:17 AM
 Make a memory book, fun to make and even lovelier to give.
 -
Die cut letters.
Jul 19, 21 10:12 AM
 Add that personal touch with die cut letters, add names or sentiment as you please.
 -
Diaper Fold Card.
Jul 19, 21 09:34 AM
Create this fun Diaper Fold Card...and no need for a pin!
Crafty Stuff...
PopShops™ affiliate storesSearch
