Ribbon Looping ...
another way to use up those scraps
Ribbon Looping is a fun technique to use up all those odd end ends that we collect over time.
Often they are short, colourful bits of ribbon that we don't know how to use, but it seems such a waste to throw them away.

Step 1
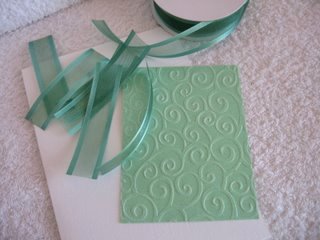
Choose the width and colour that will go with your project and cut it into equal lengths, about 10cms long.
There is nothing to stop you creating a mix and match effect with any you have in your stash.
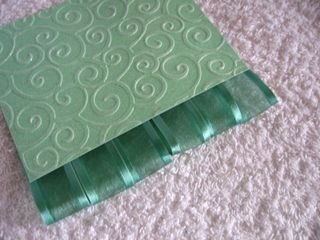
I dry embossed a piece of Glitter Card and cut it into a panel on which to attach my loops.
The number of pieces of ribbon will depend on the width, and the size of panel you wish to use.
Step 2
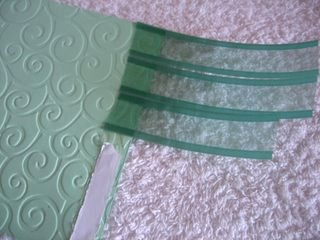
Along one edge attach a length of double sided tape, and then press each piece of ribbon onto it.
You will need some strong tape to hold them in place.
Don't worry about them being even at this stage, just make sure they are on the tape.
Step 3
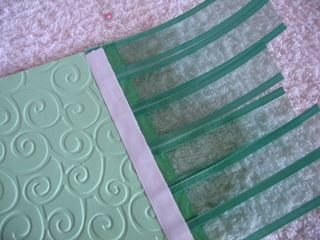
Once they are all in place, add another length of double sided tape over the ends.
Step 4
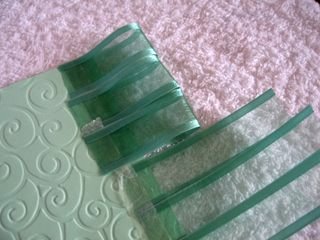
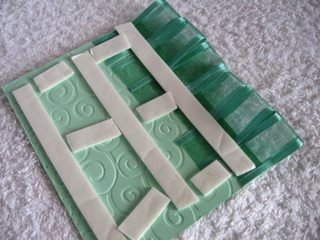
Carefully loop each piece of ribbon back to the tape and this time keep them all to the same size.
Press it down well onto the tape.
Continue until all your ribbon is looped into place...
... and when you flip the panel over this is what you should have.
Step 5
On the wrong side of your panel add foam pads, or shaker tape to the back to raise it up
Urggggh! What a mess!!! But not to worry...
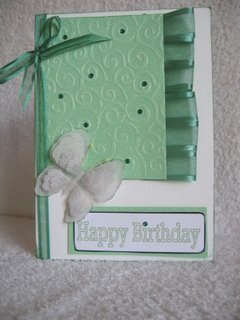
.. because when you add it to the front of your base card...nobody will know!
Decorate it as you wish.
I added emerald green gemstones randomely to the swirls, and dotted the "i" with one.
I put a matching, but thinner ribbon along the spine, and added a beautiful parchment butterfly to the bottom of the panel.
Not a hint of pink or a flower anywhere to be seen....oh my goodness I need to go and lie down...no pink, no flowers whatever next!
No pink or flowers here either.
Just some pretty cards.
There are many things you can do with ribbon looping, this is just one of them
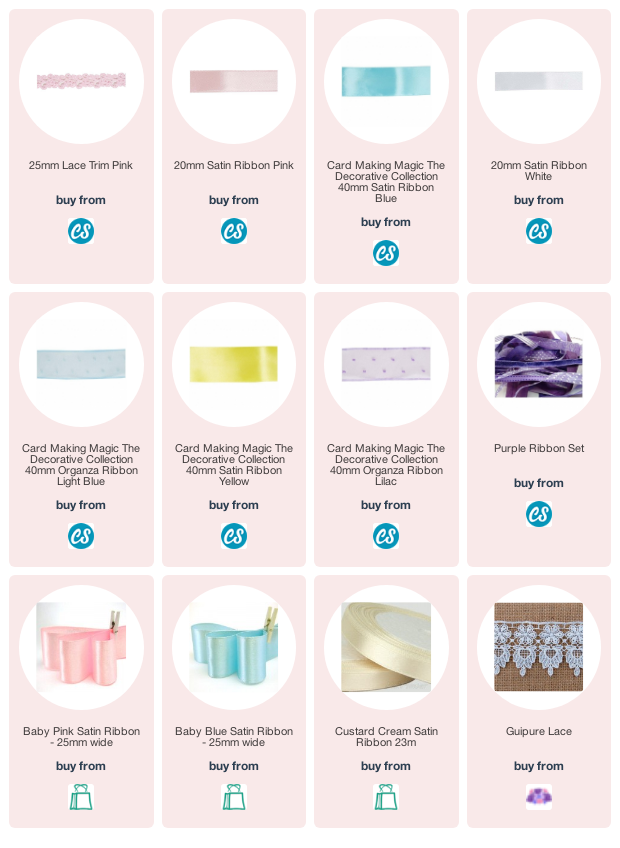
You can find a good choice of ribbons at
and

Return from Ribbon Looping to Homepage


Recent Articles
-
Memory Book
Oct 15, 22 09:17 AM
 Make a memory book, fun to make and even lovelier to give.
 -
Die cut letters.
Jul 19, 21 10:12 AM
 Add that personal touch with die cut letters, add names or sentiment as you please.
 -
Diaper Fold Card.
Jul 19, 21 09:34 AM
Create this fun Diaper Fold Card...and no need for a pin!
Search
