A Paper Pleated Flower.
Make this paper pleated flower and add it to your cards.
Search

Paper Pleating showed you the basics of achieving this effect.
So once you know how ... why not take it a step further and create this pretty flower.
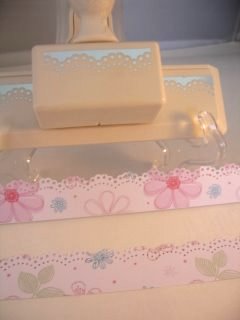
Cut two strips about 4cms (1 inch) wide from the long side of an A4 piece of paper.
Your strip will the be about 4cms x 29.5cms(1 1/2" x 11 3/4")
The wider the strip the bigger the flower, the narrower the strip the smaller the flower.
You will also need a punched circle.
Add a punched border to the long edges of each strip.
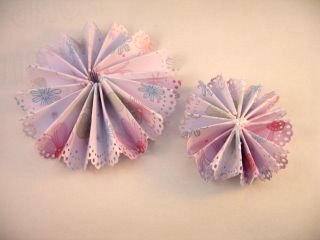
Then fold each of the paper strips back and forth into a concertina.

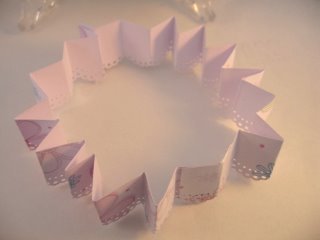
Once you have the folds sharply creased you will need to join each of the short ends together.
If you are using paper with a pattern on it make sure they are both facing the same way before you glue.
Once they are secure push the pleats to lie flat onto the punched circle. Keep the pattern facing up.
Use a strong glue to keep them in place.
You may need to hold this for a little while until the glue starts to set.
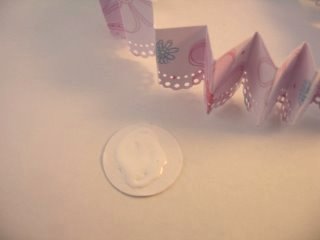
Once it has taken hold of the paper then put it to one side to dry completely.
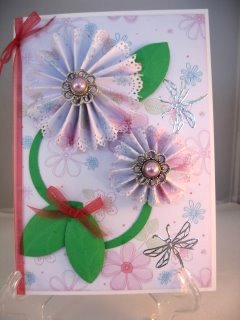
Once the paper pleated flower is dry then you can add extra to the centre.
I have used a metal spacer and a large Brad to the centre of my flower using "Pinflair Glue Gel"
Here you can see the difference in the two sizes of flower.
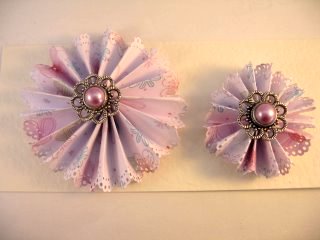
The larger one was cut to 4cms (1 1/2 ")wide.The smaller was 2cms (1") wide.
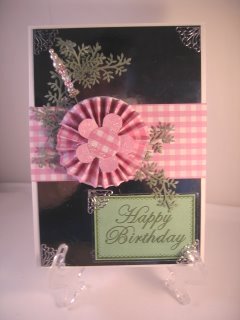
Make up the base card by Matting and layering some pretty paper.
Then dress up the front up with any embellishments that you have in your "stash" to complete the look of your card.
Ribbon on the spine and some Dragonfly Peel Offs add the finishing touch to this one.
An easy yet pleasing project for you to try and the flowers will always match your cards.
Return from Paper Pleated Flower to Homepage
Search


Recent Articles
-
Memory Book
Oct 15, 22 09:17 AM
 Make a memory book, fun to make and even lovelier to give.
 -
Die cut letters.
Jul 19, 21 10:12 AM
 Add that personal touch with die cut letters, add names or sentiment as you please.
 -
Diaper Fold Card.
Jul 19, 21 09:34 AM
Create this fun Diaper Fold Card...and no need for a pin!
Search