Make this Gift Envelope...
...to add style.
Make this gift envelope, and turn whatever it is you are giving into something special.
Have you ever had someone to buy a present for and you just don't know what to give them?
Do you have teenagers who prefer the money, to spend on whatever they want to?

Is there a wedding coming up and the couple prefer the cash to go towards something they need?
Well, here is a way to give this in a more stylish way, and one that is sure to delight the recipient.
Step 1
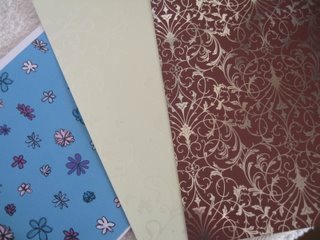
Choose the papers or card that you wish to use.
I have used card at 160gsm, as this will make the envelope a little more substantial.
Two of the choices here are A4 foiled card.
Step 2
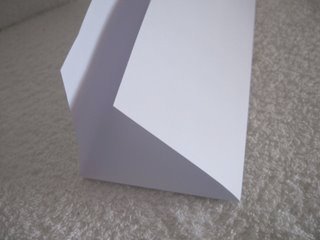
Measure, score and fold to create a tri-fold card.
Step 3
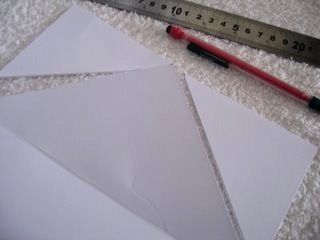
On one of the flaps find the centre and leave a feint mark.
Then down each side edge measure about 8/9cms.
Join these two marks lightly and with your craft knife cut them away...
...either in a straight line, or if you feel confident enough make a wavy edge.
You could also use a border punch, or some decorative scissors.
But if you are using card make sure your punch will cut through it.
Step 4
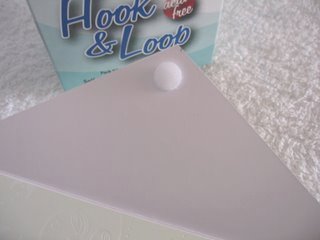
On this shaped flap I have used "Hook and Loop" to make the closure.
These are just small Velcro dots, in two separate pieces.
One has the hook and the other the loop....simple!
To make sure that they are positioned perfectly, stick one of the dots to the decorative flap, and place the other dot on top...before you close the flap!
Then, when you have the two dots joined, close it up and the other part will be in the correct position to keep the flap closed.
Press down firmly, to make sure both dots are well stuck, and then when you open and close the envelope they will always be in the correct position.
Step 5
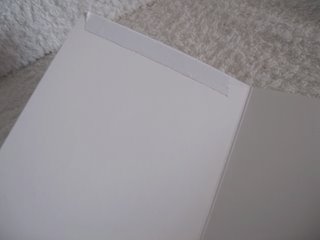
On the other flap add double sided tape, or a wet glue, and close this up too.
You should now have a pocket, in which to put your vouchers or cash, with a top flap that closes

Step 6
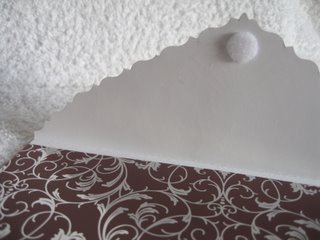
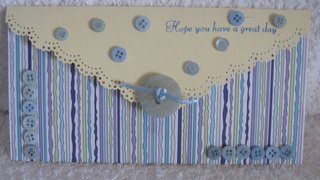
Decorate it to suit the recipient.
Add flowers for the girls, gemstones, glitter or any other Embellishment you have in your ever growing "stash".
Keep it in blue or more muted colours for the men in your life.
This gift envelope has been decorated, simply, just using some small Buttons.
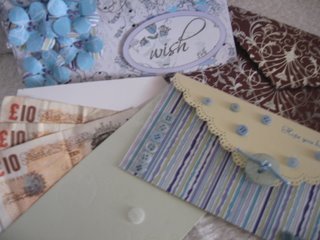
For whatever the occasion this Gift Envelope is a much nicer way to give the cash to some one, rather than just handing it over.
Return from Gift Envelope to Homepage
Search


Recent Articles
-
Memory Book
Oct 15, 22 09:17 AM
 Make a memory book, fun to make and even lovelier to give.
 -
Die cut letters.
Jul 19, 21 10:12 AM
 Add that personal touch with die cut letters, add names or sentiment as you please.
 -
Diaper Fold Card.
Jul 19, 21 09:34 AM
Create this fun Diaper Fold Card...and no need for a pin!
Search