Try this Faux Wood Effect...
For the Man in Your Life.
Men are notoriously difficult to make cards for but this Faux Wood Effect could just fit the bill.
Many people don't enjoy making cards for men because they are notoriously hard to do.
We all enjoy adding flowers, ribbons and pearls to our girly cards but what do you do with a male card ???
Well on this page we are going to create something that would suit any male cards that you need to make and it is an easy effect to cate.
It is a "direct to card" Technique, and it is useful one to add as a background to your cards.
No pretty flowers and ribbons for them....No! just an old plank of wood and they are happy!!

Step 1
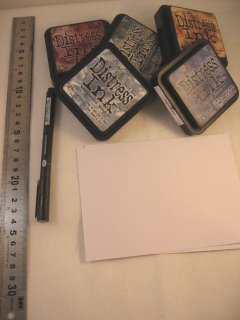
To get the look I have used two different colours from the Tim Holtz Range of "Distress Inks".
And a piece of plain white card which is about 10cms x 14cms. (4x6")
There is a vast selection of colours in these inks so the choice is down to your personal preference and the effect you wish to create.
For the featured card I have used Faded Jeans and Weathered Wood
You will also need a ruler and a black pen.
Step 2
Place your card onto a cheap piece of copier paper to protect the work surface.
With one of the colours, swipe it directly from the ink pad down the length of your card.
Don't worry about the blotchiness, that all adds to the effect.
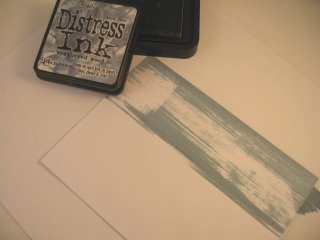
Carry on swiping it down the card until it is all covered.
Don' worry if it is crooked either, but if you want a little more colour then you can go over it again if you wish.
But what you don't want is a fully covered, flat look to the card.
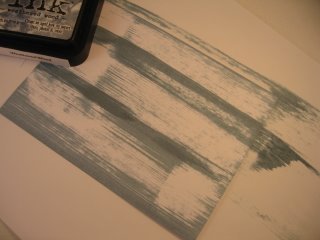
Step 3
Now with the second choice of ink swipe over the card again in the same direction until the card is covered.
Step 4
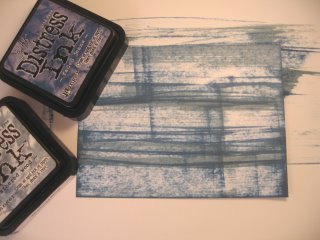
One of the qualities of these Distress Inks is that they are designed to stay wet for a longer time.
This makes them really workable for use with a Blending Tool.
They can also be used for colouring, which is another technique I will show you soon.
They can also be used for colouring, which is another technique I will show you soon.
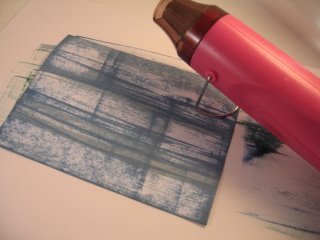
But because of this the ink will need to be dry before you proceed.
Either leave it to dry naturally....or give it a quick blast with your Heat Gun.
Step 5
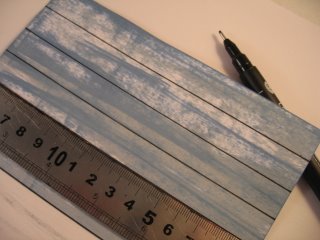
Once the ink is dry the colours will lighten.
Take your black pen, and at regular intervals along the length of the card, make straight lines horizontally.
Mine are spaced out at 1.5cms (1/2")
Trim off any odd bit at the end.
Step 6
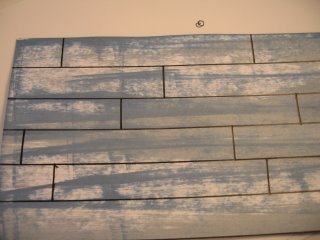
Then make spaced lines vertically on the card.
This is to make the individual planks of the wood.
The picture shows you how it should look when you have done this.
Step 7
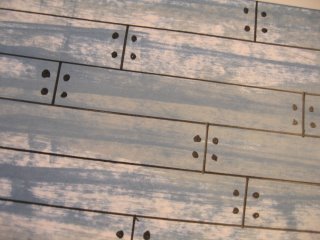
Then at each side of the vertical lines make two small dots to represent the nails holding the planks in place.
Different colours in inks will give you yet another look to your faux wood effect, which will blend with the card you are making.
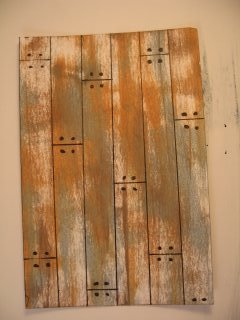
This combination is...
Weathered Wood and Tea Dye
from the same range of distress inks...
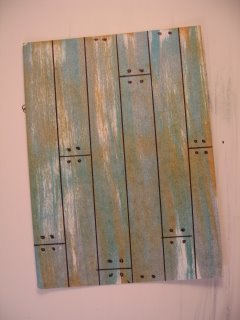
...and this one is Faded Jeans and Tea Dye...
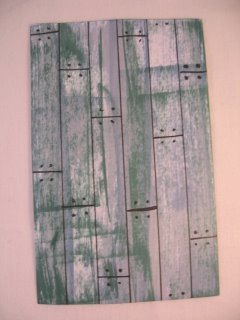
... and this is a combination of Weathered Wood and Pine Needles.
Very effective and very masculine is the Faux Wood Effect.
Return from Faux Wood Effect to Homepage


Recent Articles
-
Memory Book
Oct 15, 22 09:17 AM
 Make a memory book, fun to make and even lovelier to give.
 -
Die cut letters.
Jul 19, 21 10:12 AM
 Add that personal touch with die cut letters, add names or sentiment as you please.
 -
Diaper Fold Card.
Jul 19, 21 09:34 AM
Create this fun Diaper Fold Card...and no need for a pin!
Search
