Make A Cream Carton ...
for all your party favours
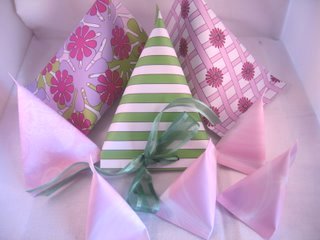
This Cream Carton can be just the thing you need to put your party favors in
If you are looking for a neat idea to add favours to then... look no more.
Here is a really cute idea that can be used for any occasion.
These are some ideas for you to try. I'm sure you can come up with many more of them for yourself.
They can be made to any size you want depending on what you want to add to the centre.
All you need is an A4 sheet of pretty paper. Use it at that size to make one box.
Cut it in half will give you two boxes, but if you cut it into quarters it will produce four small boxes which are ideal for children.
To the Small Sizes add sweeties for a childrens party, make them in bright colours and add the childrens names.
Make them in a colour to match the wedding theme and add the sugared almonds to them for the wedding table.
Make the Middle Size one, in a flowery paper, and add a packet of seeds for a gardening friend.
Or some crafting goodies for a like minded person.
Keep them small and add a lovely piece of jewellery, for your mum on Mothers Day. For your daughter on her graduation, birthday or wedding.
So how do we make them....
Step 1
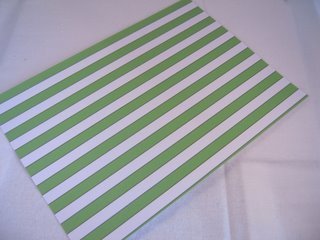
Take your A4 paper and decide what size you want.
Cut the paper accordingly.
The steps are the same whatever size you make.
(For the purpose of the photos I have kept it large, so that you can see better what has been done)
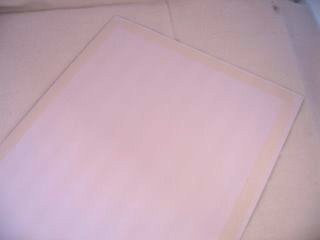
Step 2
Flip the paper over and on the inside add some wet glue to the two long and one of the short sides.
Wet glue is better as double sided tape will dry out and your box will eventually split open.
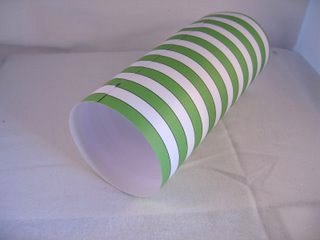
Step 3
Then carefully matching any pattern to your paper, roll the short sides into a tube, and press them together firmly.
Step 4
Now keep the join off centre and press one of the short sides together to seal the end.
This is the time to add the "goodies" to the cream carton.
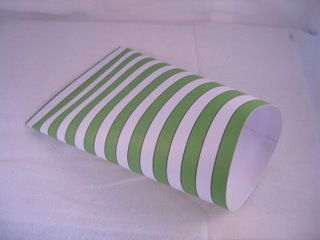
Small stamps, ribbons or little packets of Embellishments will fit inside very nicely...Thank you!
Step 5
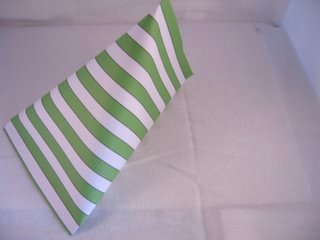
Once the goodies have been added it's time to seal the other end.
But this time close it the opposite way to give it the carton shape.
The Large size can take toiletries, chocolates or even biscuits as a special treat.
Oh! Yes please!!
Step 6
And finally decorate the cream carton anyway you want, to suit the recipient and the contents.
Punch holes in one of the short sides and add ribbon through the holes.
Add flowers, name tags, gemstones or any other "Bling" you want.
Altogether a really useful addition to your paper crafting skills, Do you agree? Oh good!
Papercrafts
Easy Cardmaking Projects
More Projetcs... a little harder
Novelty Cards
Kinetic Cards
Cardmaking Tutorials
Return from Cream Carton to Homepage


Recent Articles
-
Memory Book
Oct 15, 22 09:17 AM
 Make a memory book, fun to make and even lovelier to give.
 -
Die cut letters.
Jul 19, 21 10:12 AM
 Add that personal touch with die cut letters, add names or sentiment as you please.
 -
Diaper Fold Card.
Jul 19, 21 09:34 AM
Create this fun Diaper Fold Card...and no need for a pin!
Search
