How to Fold your Card Blanks
You can purchase ready folded card blanks, and they come in lots of different colours, patterns, shapes and sizes, but it's cheaper to fold your own.
These are an excellent way to start the hobby especially if you don't make a lot of cards.
But you won't get many in a pack of shop bought ones.
So think about D-I-Y because the cheapest way is to fold your own.
Try the factory shops because you will get many sheets in a box for a really good price
You can create some interesting shapes quite easily to ring the changes, each time you have a creative session.
Some of the shapes may need to be measured out first.
But once you have the hang of it you will enjoy the process of creating your own card blanks ready for you to decorate.
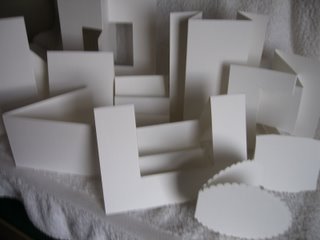
Pictured are some of the many shapes you will be able to create.
So let's start with the basics first...
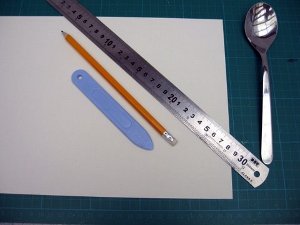
If you haven't got many pieces of
card-making equipment
then use what you have around the house.
Take your piece of card, a pencil and a metal ruler.
I am using an A4 card.(21 x 29.5cms) (8 1/4 x 11 3/4")approx.
Lay it flat on your cutting mat and measure to the centre of the card.
(On an A4 card this will be about 15cms.)
Leave a feint pencil mark at the top and bottom.
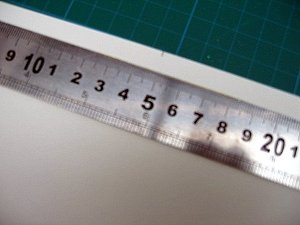
Lay the metal ruler along the centre, to join these two marks.
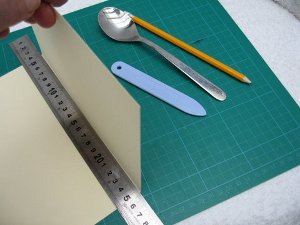
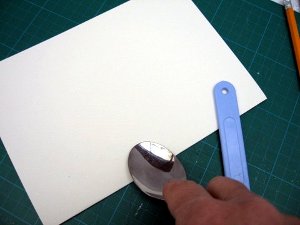
Now you can either run the spoon handle, the point of the bone folder, or an embossing ball tool to score the card.
(Tip...keep an empty ball point pen and use it as your embossing tool, it will leave an indent in the card for you to fold along, you don't need to press to hard.)
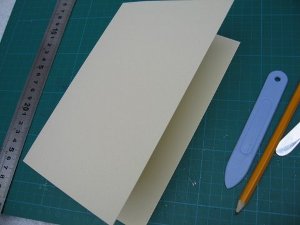
Fold it along this indent...
...then using either the back of a clean spoon, or the flat side of the bone folder, press along the spine to give a smooth, professional crease.
It is worth investing in a bone folder, they aren't expensive.
This will produce a really good fold in the cardblank, ready for you to embellish in any way you want to.
Just folding the card in half, without scoring first, will give you a very untidy edge to your card, and your card could crack.
Not a pretty sight !!
If you have a scoring board. then the whole process is measured out for you, via the channels on the board.
Take a look at the Easy Cardmaking Projects section for lots more ideas on folding your card blanks.
Return from Card Blanks to Homepage


Recent Articles
-
Memory Book
Oct 15, 22 09:17 AM
 Make a memory book, fun to make and even lovelier to give.
 -
Die cut letters.
Jul 19, 21 10:12 AM
 Add that personal touch with die cut letters, add names or sentiment as you please.
 -
Diaper Fold Card.
Jul 19, 21 09:34 AM
Create this fun Diaper Fold Card...and no need for a pin!
Search
