Create this little Car Card ...
from your circle punches
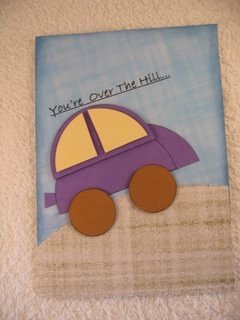
This Car Card is another fun card from the Novelty Card section and will suit many occasions.

These super are easy to make with just some circle punches, that you probably already have in your equipment.
They are suitable for lots of different occasions and will certainly address the male themed cards that we all struggle to make.
Step 1
Choose two different colours.
Make one a paler colour as this will be the windows to your car.
I have used a brown card for the wheels, and saved a small piece of the main car colour for the exhaust of the car.
A scrap of pink will make the head.
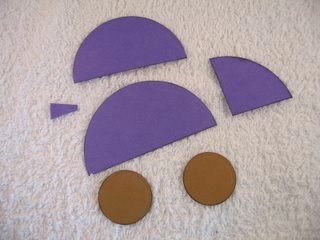
Step 2
Cut a circle for the main body to the car in one colour, and cut it in half.
Cut one of those halves, in half again.
Cut another circle slightly smaller for the top of the car, and cut this in half.
Cut two circles for the wheels.
Use a scrap of the main colour for the exhaust pipe.
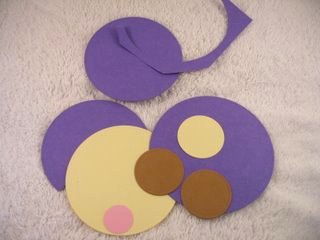
These are the pieces you should have. Ink all the edges.
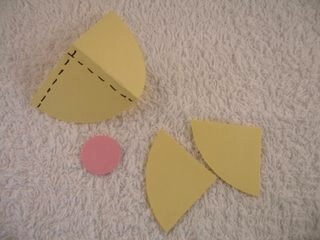
Step 3
With the paler piece of card cut a circle.
Cut it in half, and then cut into a quarter just slightly smaller.
The dotted line in the photo indicates the cut lines.
This will now give you two pieces for the windows.
The little pink circle is for the drivers head.
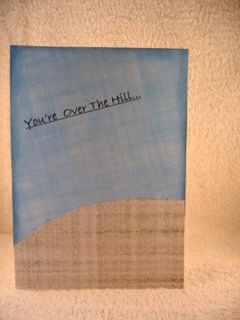
Step 4
Add the backing paper to the base card.
I have used blue for a sky and green for the hill.
The sentiment is computer generated and printed onto the blue paper.
Step 5
Build up the car as follows...
Glue the bottom of the car just above the hill.
Tuck under and glue the exhaust at the back of the car.
Tuck under and glue the bonnet of the car at the front.
Add the wheels to the car with foam pads to raise them up.
Add the smaller half circle to the top of the car with foam pads, so that it sits just over the main body of the car.
Add the quartered paler colour to the top part of the car with foam pads. Trim to fit if needed.
Step 6
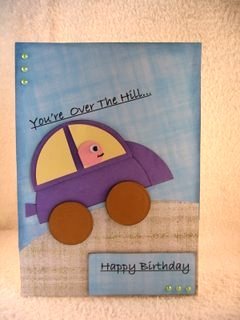
Add the small pink circle into the front window, and add a smiley mouth.
You can freehand draw an eye, but I used some "Googly Eyes" from my stash.
I added a sentiment at the bottom of the card and some flat backed pearls to finish.
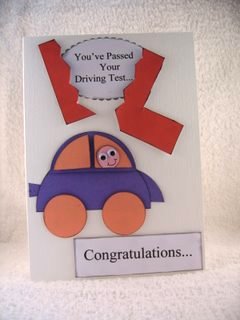
This Car Card is ideal to send to a teenager that has just passed a driving test.
The red "L" was done on the computer and cut in a wavy half with a craft knife.
Both of the sentiments are from the PC.
The car was built up as before.
This driver is facing out of the car and needed two "Googly Eyes"
Altogether a fun project and one you can enjoy making.
Return from Car Card to Homepage


Recent Articles
-
Memory Book
Oct 15, 22 09:17 AM
 Make a memory book, fun to make and even lovelier to give.
 -
Die cut letters.
Jul 19, 21 10:12 AM
 Add that personal touch with die cut letters, add names or sentiment as you please.
 -
Diaper Fold Card.
Jul 19, 21 09:34 AM
Create this fun Diaper Fold Card...and no need for a pin!
Tools You May Need
PopShops™ affiliate storesSearch
